
Utility Cloud offers the ability to link directly with Muni-Link's Utility Billing software for anyone using Muni-Link for meter billing. Whenever you create a task for any supported task in Muni-Link, that task will be sent to Utility Cloud as a work order using the mapped workflow. From there, you can complete that work order the same as any other and on completion, the mapped data will be sent back to Muni-Link and complete the linked task.
For more information on Muni-Link Utility Billing, you can visit their website here. If you already use Muni-Link and are interested in setting up an integration with your billing account in Utility Cloud, you can reach out our Customer Success team using the contact information here to discuss the implementation process.
Setting up your integration
In order to begin sending work between Muni-Link and Utility Cloud, you will need to work with our Customer Success team to map a specific account in Utility Cloud for Muni-Link to send work orders. You will also need to map an asset class to map to your Muni-Link accounts and workflows to map to Muni-Link tasks. You will also need to create list definitions to support specific required fields in the asset class and workflows. Once configuration is completed, a Customer Success representative with Utility Cloud will work with our development team and representatives from Muni-Link to link those together.
Currently only the below Muni-Link tasks are supported for mapping to Utility Cloud:
-
Install Meter
-
Reread Meter
-
Exchange Meter
-
Exchange Meter ECR/MXU
-
Shutoff
-
Restore Service
-
Remove Meter
Account configuration
Only one account can be configured in Utility Cloud for receiving work orders from Muni-Link. That account needs to have the same business line as your account asset class and task workflows but otherwise doesn't need any special configuration. For more information on setting up a new account or editing an existing one, see Accounts.
Asset class configuration
The asset class configured for use with Muni-Link will represent your Muni-Link accounts as assets in Utility Cloud. The asset class should be the same business line as your account and workflows and requires the below fields:
|
Field Type |
Required |
Key |
Title |
List Definition |
|---|---|---|---|---|
|
TEXT |
No |
no key required |
Account Number |
|
|
TEXT |
No |
no key required |
Municipality |
|
|
TEXT |
No |
sn |
Serial Number |
|
|
MULTIPLE CHOICE |
No |
mfg |
Manufacturer |
Meter Manufacturer |
|
MULTIPLE CHOICE |
No |
um |
Unit of Measure |
Unit of Measure |
|
MULTIPLE CHOICE |
No |
mp |
Multiplier |
Multiplier |
|
MULTIPLE CHOICE |
No |
ms |
Meter Size |
Meter Sizes |
|
MULTIPLE CHOICE |
No |
rt |
Reader Type |
Reader Type |
|
TEXT |
No |
ecr |
ECR Number |
|
|
TEXT |
No |
mxu |
MXU Number |
|
For more information on creating or editing an asset class, see Asset Classes.
Workflow configuration
The workflows configured for use with Muni-Link will represent your tasks sent from Muni-Link to Utility Cloud. The workflows should be the same business line as your account and asset class, and requires the below fields for each workflow.
Install Meter
|
Field Type |
Required |
Key |
Title |
List Definition |
|---|---|---|---|---|
|
DATE |
Yes |
no key required |
Meter In Date |
|
|
TIME |
No |
no key required |
Meter In Time |
|
|
NUMBER |
Yes |
no key required |
Meter In Reading |
|
|
TEXT |
Yes |
no key required |
Serial Number |
|
|
MULTIPLE CHOICE |
Yes |
no key required |
Manufacturer |
Meter Manufacturer |
|
MULTIPLE CHOICE |
Yes |
no key required |
Unit of Measure |
Unit of Measure |
|
MULTIPLE CHOICE |
Yes |
no key required |
Multiplier |
Multiplier |
|
MULTIPLE CHOICE |
Yes |
no key required |
Meter Size |
Meter Sizes |
|
MULTIPLE CHOICE |
Yes |
no key required |
Reader Type |
Reader Type |
|
TEXT |
No |
no key required |
ECR Number |
|
|
TEXT |
No |
no key required |
MXU Number |
|
Reread Meter
|
Field Type |
Required |
Key |
Title |
List Definition |
|---|---|---|---|---|
|
DATE |
Yes |
no key required |
Read Date |
|
|
TIME |
No |
no key required |
Read Time |
|
|
NUMBER |
Yes |
no key required |
Reading |
|
Exchange Meter
|
Field Type |
Required |
Key |
Title |
List Definition |
|---|---|---|---|---|
|
DATE |
Yes |
no key required |
Meter Out Date |
|
|
TIME |
No |
no key required |
Meter Out Time |
|
|
NUMBER |
Yes |
no key required |
Meter Out Reading |
|
|
DATE |
Yes |
no key required |
Meter In Date |
|
|
TIME |
No |
no key required |
Meter In Time |
|
|
NUMBER |
Yes |
no key required |
Meter In Reading |
|
|
TEXT |
Yes |
no key required |
Serial Number |
|
|
MULTIPLE CHOICE |
Yes |
no key required |
Manufacturer |
Meter Manufacturer |
|
MULTIPLE CHOICE |
Yes |
no key required |
Unit of Measure |
Unit of Measure |
|
MULTIPLE CHOICE |
Yes |
no key required |
Multiplier |
Multiplier |
|
MULTIPLE CHOICE |
Yes |
no key required |
Meter Size |
Meter Sizes |
|
MULTIPLE CHOICE |
Yes |
no key required |
Reader Type |
Reader Type |
|
TEXT |
No |
no key required |
ECR Number |
|
|
TEXT |
No |
no key required |
MXU Number |
|
Exchange Meter ECR/MXU
|
Field Type |
Required |
Key |
Title |
List Definition |
|---|---|---|---|---|
|
DATE |
Yes |
no key required |
Meter Out Date |
|
|
TIME |
No |
no key required |
Meter Out Time |
|
|
NUMBER |
Yes |
no key required |
Meter Out Reading |
|
|
DATE |
Yes |
no key required |
Meter In Date |
|
|
TIME |
No |
no key required |
Meter In Time |
|
|
NUMBER |
Yes |
no key required |
Meter In Reading |
|
|
TEXT |
Yes |
no key required |
ECR Number |
|
|
TEXT |
Yes |
no key required |
MXU Number |
|
Shutoff
|
Field Type |
Required |
Key |
Title |
List Definition |
|---|---|---|---|---|
|
DATE |
Yes |
no key required |
Read Date |
|
|
TIME |
No |
no key required |
Read Time |
|
|
NUMBER |
Yes |
no key required |
Reading |
|
Restore Service
|
Field Type |
Required |
Key |
Title |
List Definition |
|---|---|---|---|---|
|
DATE |
Yes |
no key required |
Read Date |
|
|
TIME |
No |
no key required |
Read Time |
|
|
NUMBER |
Yes |
no key required |
Reading |
|
Remove Meter
|
Field Type |
Required |
Key |
Title |
List Definition |
|---|---|---|---|---|
|
DATE |
Yes |
no key required |
Meter Out Date |
|
|
TIME |
No |
no key required |
Meter Out Time |
|
|
NUMBER |
Yes |
no key required |
Meter Out Reading |
|
For more information on creating or editing a workflow, see Workflow Classes.
List definition configuration
The list definitions configured for use in your asset class and workflows mapped to Muni-Linked are used to validate specific fields Muni-Link will be looking for when your work order is sent back to Muni-Link.
Meter Manufacturer
|
Field Name |
|---|
|
Sensus |
|
Neptune |
Unit of Measure
|
Field Name |
|---|
|
Gallons |
|
Cubic Feet |
Multiplier
|
Field Name |
|---|
|
1 (0 Fixed Zeros) |
|
10 (1 Fixed Zero) |
Meter Sizes
|
Field Name |
|---|
|
3/4 |
|
5/8 |
Reader Type
|
Field Name |
|---|
|
Unknown |
|
Radio |
|
Touch |
For more information on creating or editing list definitions, see List definitions.
Linking your configuration
Once your account, asset class, and workflow are created and configured in your billing account, a Utility Cloud Customer Success representative will need to coordinate with one of our developers and a representative from Muni-Link in order to finish enabling your billing account to send and receive data to and from Muni-Link. You can find contact information for our Customer Success team on the Contact Us page.
Creating and completing Muni-Link work orders
Once your integration is configured between Muni-Link and Utility Cloud, sending a Muni-Link task to Utility Cloud as a work order only requires you to create a supported task in Muni-Link.
Creating from Work Orders
To create a work order from Muni-Link's Work Orders system:
-
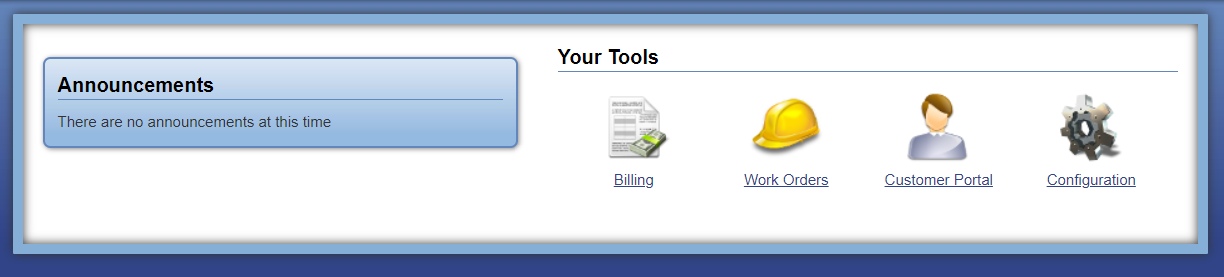
From Muni-Link, select Work Orders.
-
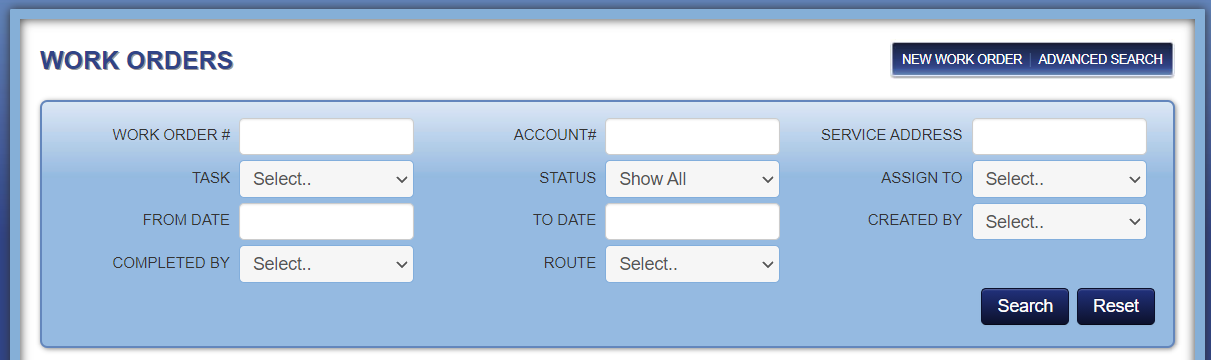
From Work Orders, select NEW WORK ORDER.
-
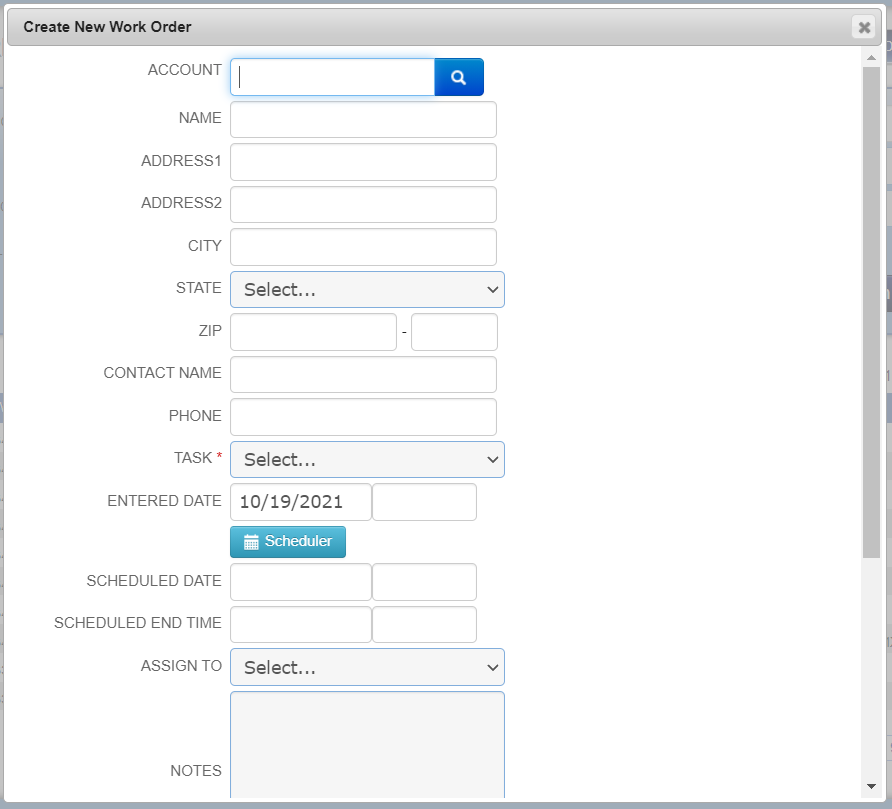
Enter all the required information, select your task, and select Create.
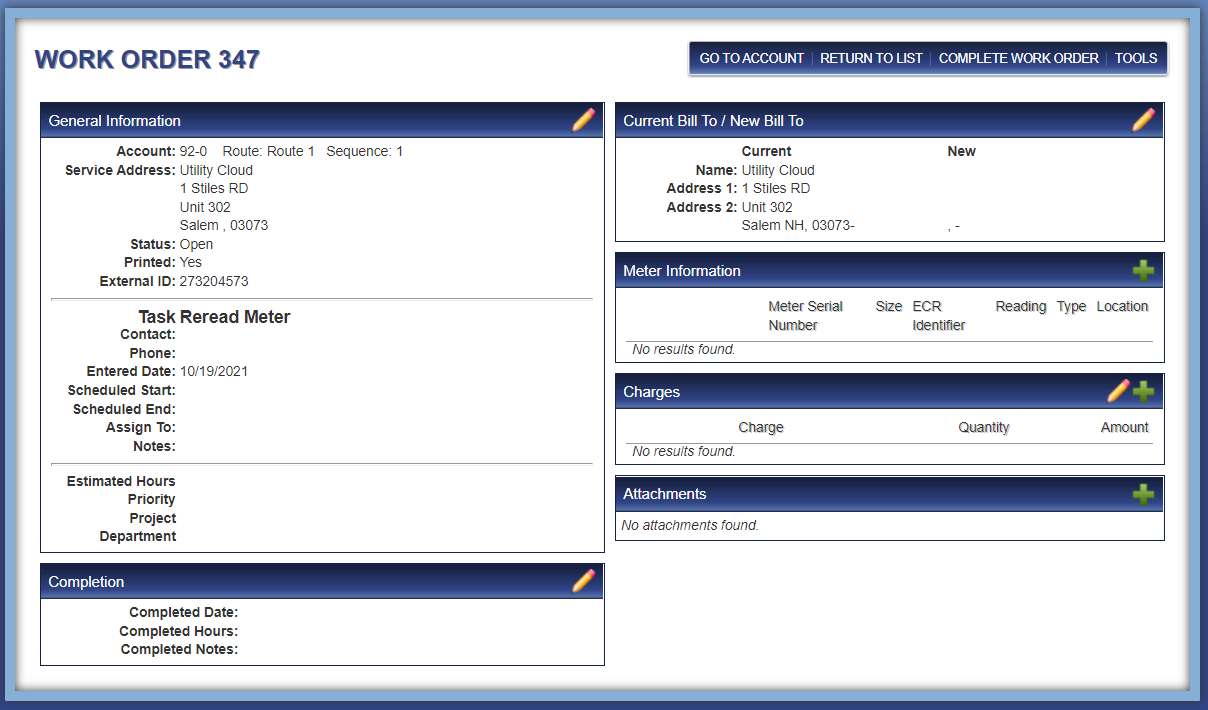
Once your work order is created in Muni-Link, that work order is automatically created in Utility Cloud with the corresponding workflow. If no asset exists yet to represent your Muni-Link account, then an asset will be created in the linked Utility Cloud account for that work order to be created against. The Work Order page for that work order will show the Utility Cloud Work Order ID under External ID and you can use that ID to find the correct work order in Utility Cloud.
That work order can then be completed the same as any other work order in Utility Cloud, and on completion the associated workflow report data will be sent to Muni-Link and the Muni-Link work order updated and completed. If that work order is canceled in Utility Cloud instead, then it will be canceled in Muni-Link.
Creating from Service Orders
To create a work order from Muni-Link's Service Orders system:
-
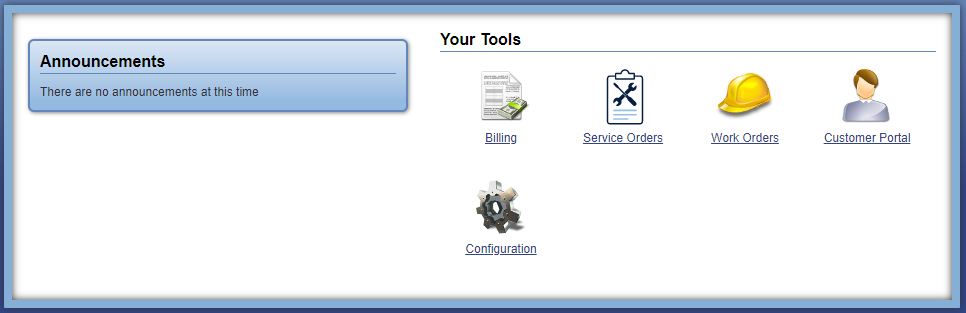
From Muni-Link, select Service Orders.
-
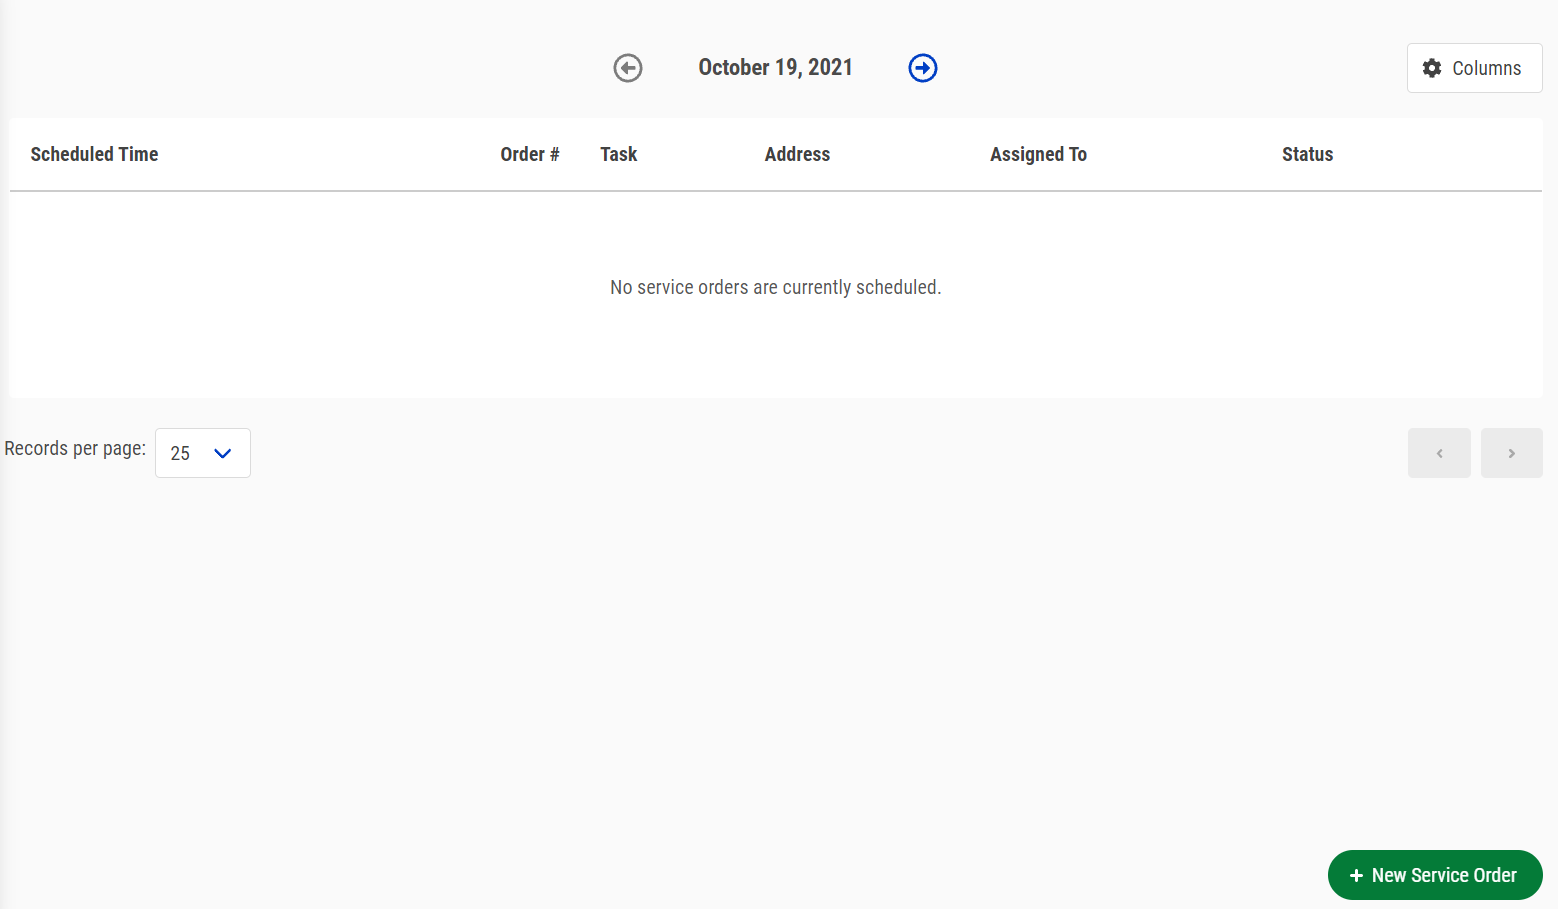
From Service Orders, select New Service Order in the lower-right of the page.
-
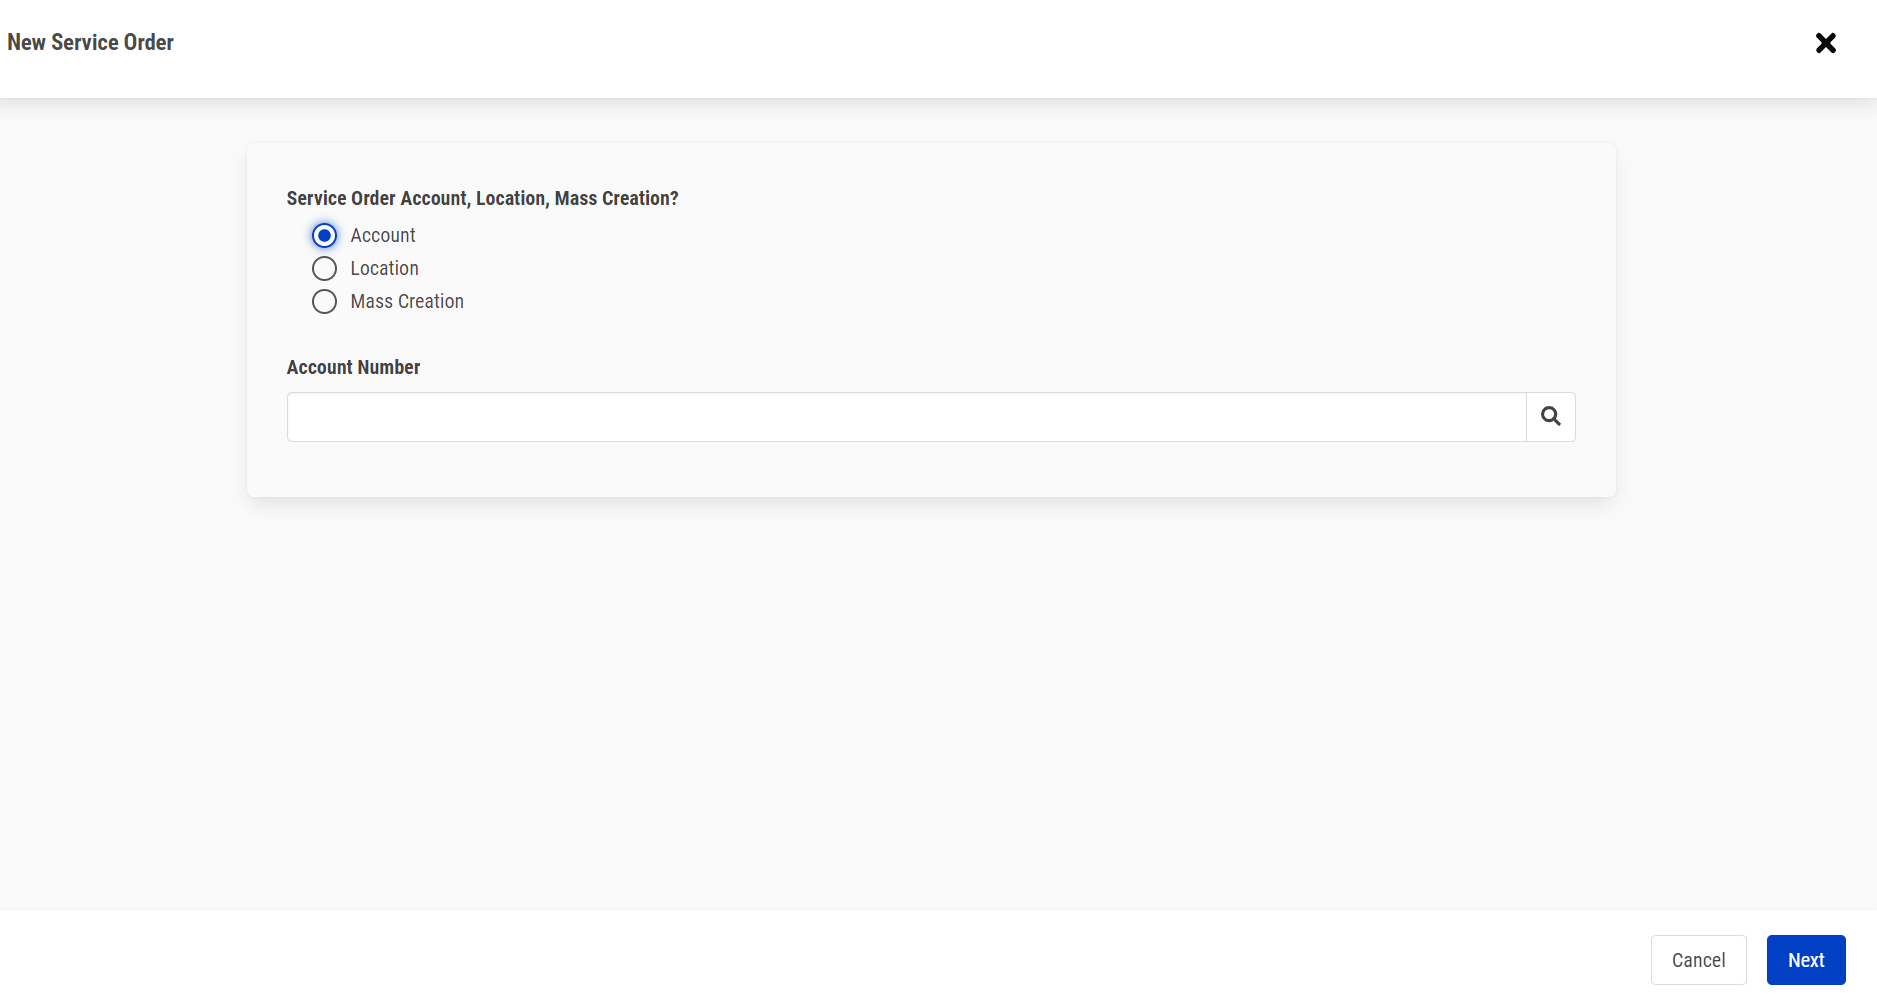
Select Account or Location to create an individual service order/work order or select Mass Creation to create multiple, and once you've entered the required fields, select Next.
-
Select your task and enter all required fields, then select Save.
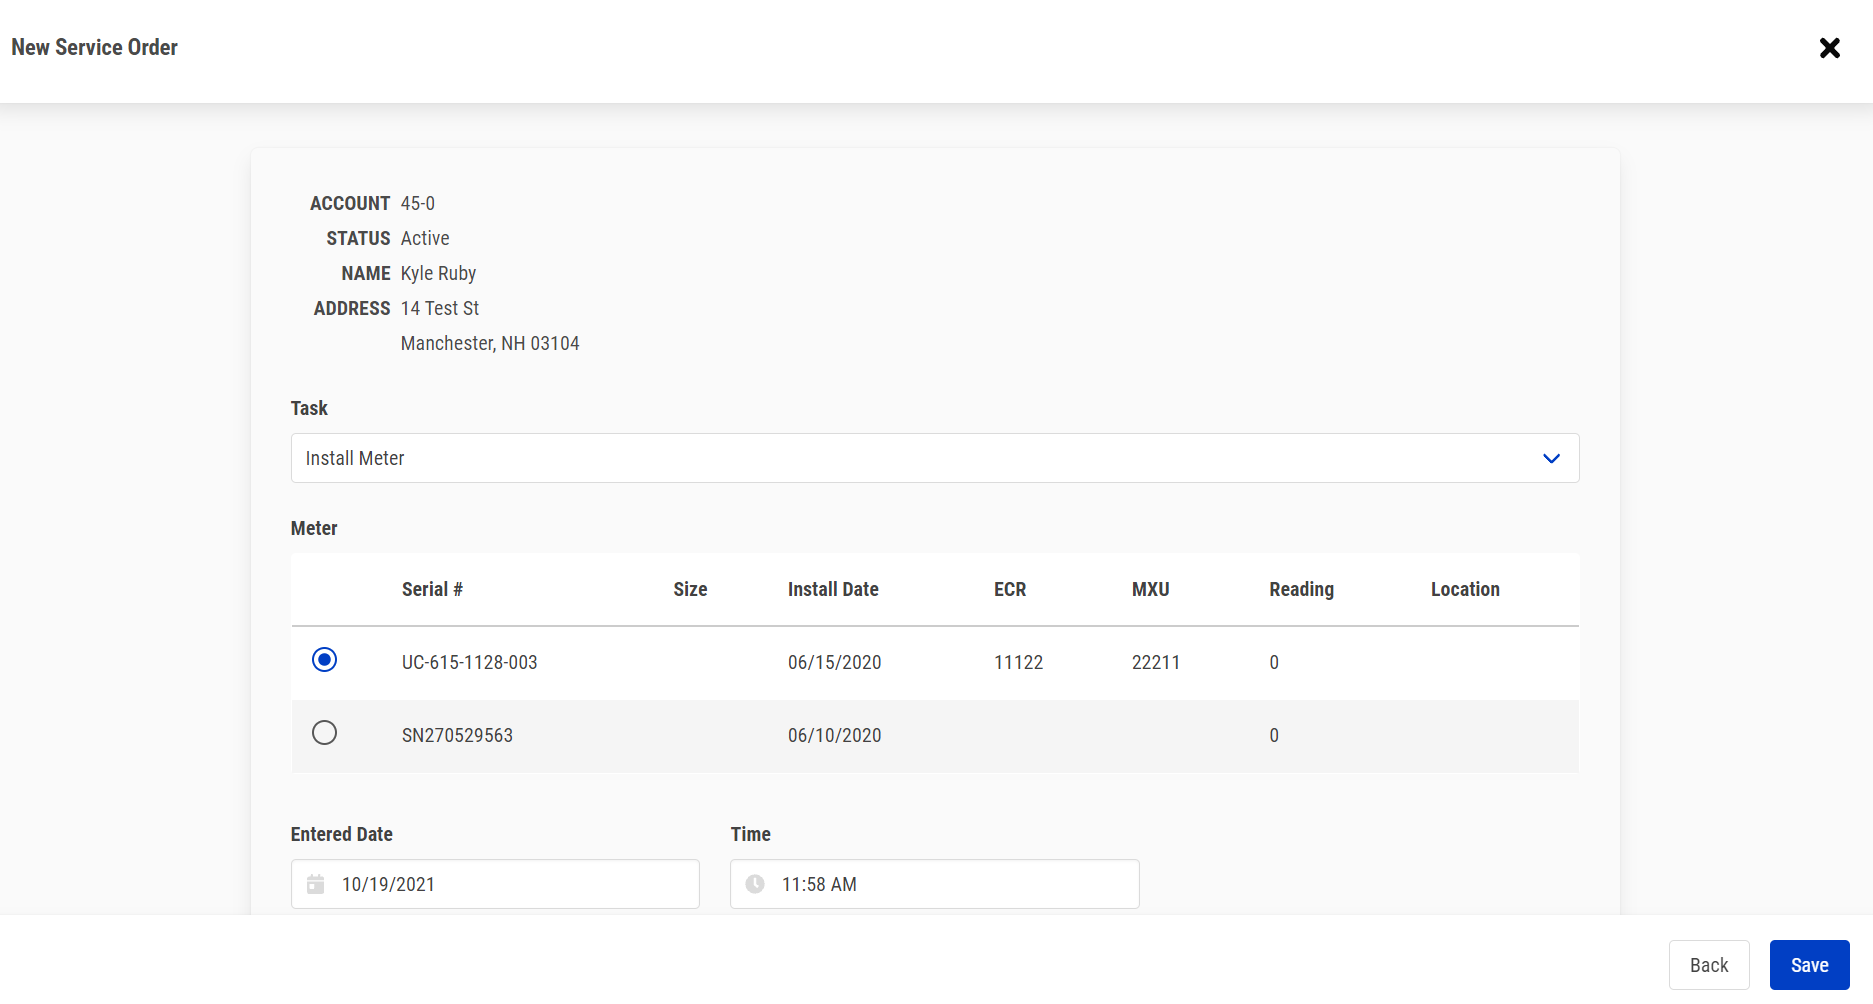
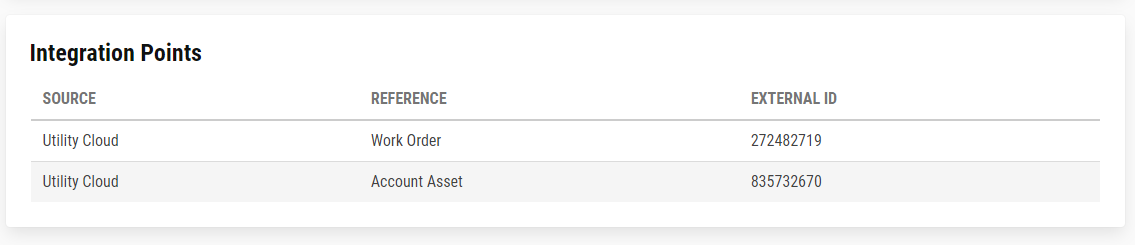
Once your service order is created in Muni-Link, the corresponding work order is automatically created in Utility Cloud with the corresponding workflow. If no asset exists yet to represent your Muni-Link account, then an asset will be created in the linked Utility Cloud account for that work order to be created against. The Service Order page for that work order will show the Utility Cloud Work Order ID and Asset ID under the Integration Points panel and you can use that ID to find the correct work order in Utility Cloud.
That work order can then be completed the same as any other work order in Utility Cloud, and on completion the associated workflow report data will be sent to Muni-Link and the Muni-Link work order updated and completed. If that work order is canceled in Utility Cloud instead, then it will be canceled in Muni-Link.
Related articles