
List definitions let you create reusable dropdown lists for use in asset class attributes and workflow fields. A single list can be used in multiple places across your asset classes and workflows, ensuring consistent responses throughout your data.
Searching for a list
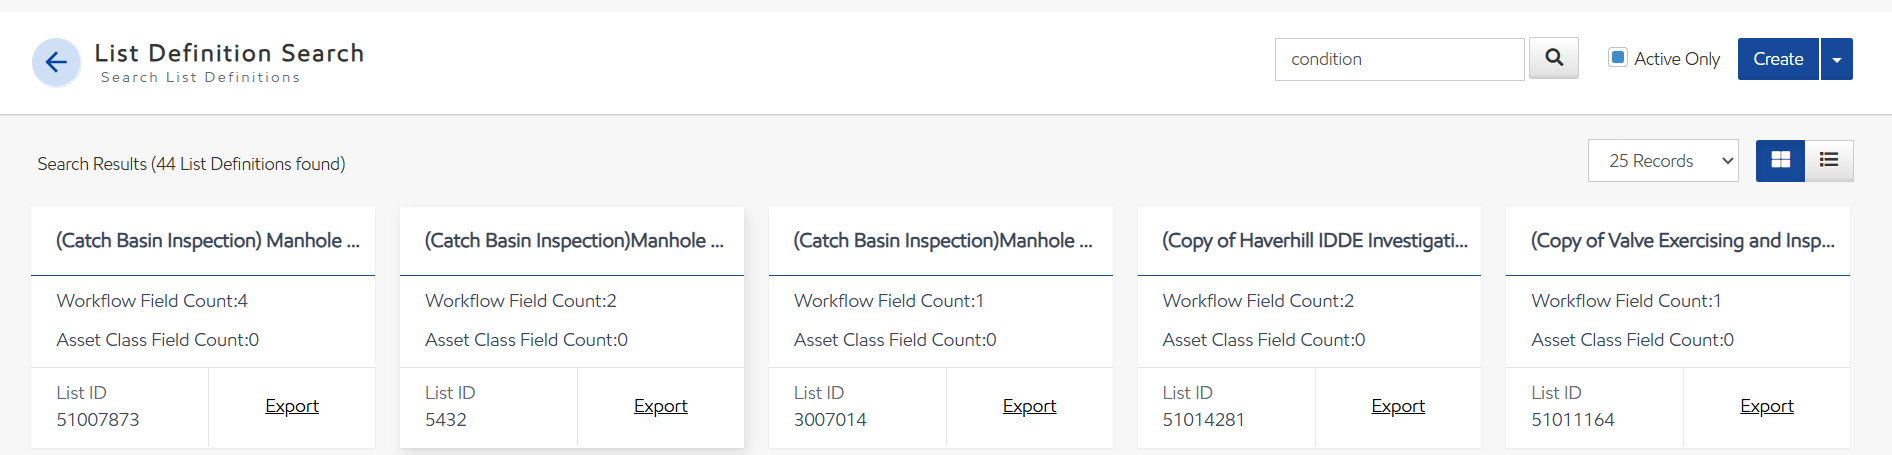
You can search for any list definition from the List Definition Search page. To find a list:
-
Select the List Definitions tile from the Landing Page or from the navigation menu.
-
Enter all or part of the list name in the search box.
-
Select the magnifying glass icon.
Security Rights Required: View List Definitions
Changing the view
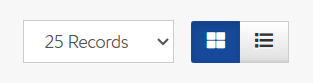
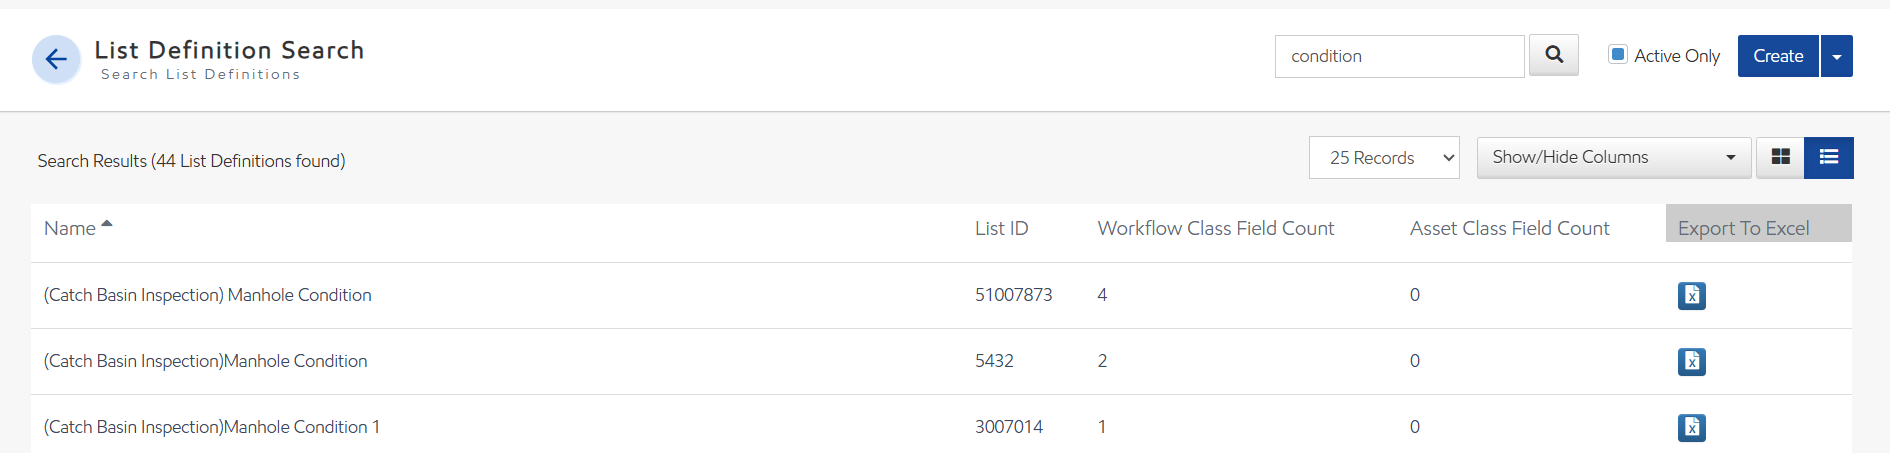
By default, search results display in card view. To switch to list view, select the List icon. To switch back to card view, select the Card icon.
Sorting and filtering results
In list view, you can sort results by selecting any column header. Select the same header again to reverse the sort order. To show or hide columns, select Show/Hide Columns and check or uncheck each column as needed.
Creating a list

You can create a new list definition at any time from the List Definition Search page. To create a list:
-
Select the List Definitions tile from the Landing Page or from the navigation menu.
-
Select Create.
-
Enter a name in List Name.
-
If this list's available options depend on a selection made in another list, select the parent list from the Has Parent dropdown list. For more information, see Parent/child lists.
-
Select Save.
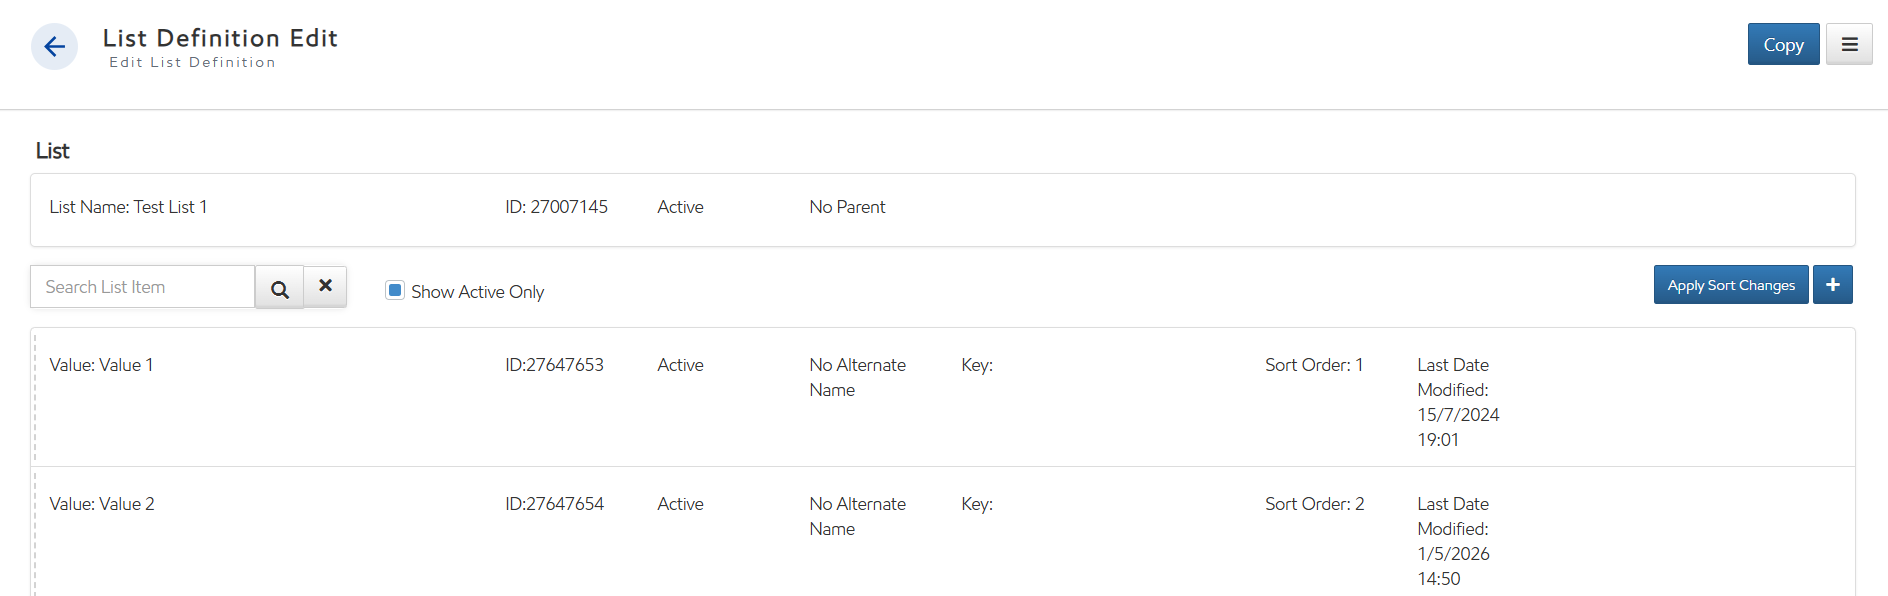
After saving, you'll be taken to the list's detail page where you can add items to the list.
Security Rights Required: View List Definitions; Create/Edit List Definitions
Adding items to a list

Each item in a list represents one option a user can select when that list is used in an asset class attribute or workflow field. To add an item:
-
Select the add plus icon.
-
Enter the item name in Name.
-
If you'd like users to be able to enter a custom text value when this item is selected, check Allow Alternate Name. For more information, see Allow alternate name.
-
If this item is referenced in calculations or visibility conditions elsewhere, enter a unique value in Key.
-
Enter a number in Sort Order, or select the menu icon to move the item to the top or bottom of the list.
-
To add aliases to this item, select Select Aliases. For more information, see Aliases.
-
Select Save.
Repeat for each item you'd like to include in the list.
Security Rights Required: View List Definitions; Create/Edit List Definitions
Aliases
Aliases are alternate names for a list item that are accepted during asset imports. When an imported value doesn't exactly match a list item but does match one of its aliases, Utility Cloud automatically maps it to the correct list item. This is useful when source data uses different naming conventions for the same value.
Aliases must be unique across all item names and aliases within the same list definition — no two items can share a name or alias.
Any aliases set on a list item are visible on the list detail page, directly below the item's value. If a list item has 3 or more aliases, only the first 2 are shown, followed by + x more aliases.
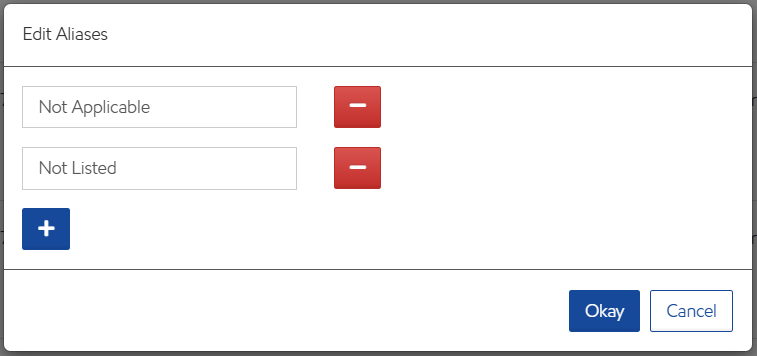
To add or update aliases for a list item:
-
When editing a list item, select Select Aliases.
-
In the Edit Aliases dialog, enter an alias in the text box.
-
To add another alias, select +. To remove an alias, select – next to it.
-
Select Okay.
If any alias duplicates an existing item name or alias in the list, a validation message appears and the aliases aren't saved until the duplicate is resolved. Select Save on the list item to commit your changes.
Allow alternate name
Allow alternate name is an option on individual list items that lets users enter a custom text value in place of the selected item's standard value. It's typically used on items like Other, Not Listed, or N/A — cases where the available options don't fully cover what a user needs to record, without requiring a separate field.
When a user selects a list item with Allow Alternate Name enabled, a text box appears directly below the field. Whatever they enter is what gets saved and displayed as the field value elsewhere in Utility Cloud — the selected list item itself is saved behind the scenes but isn't shown. When that field is later edited, the text box reappears pre-filled with the previously entered value, behaving just as it did on first entry.
This allows a single list field to accommodate both standard selections and open-ended responses, without needing an additional field to capture exceptions.
Class associations

The Class Associations section at the bottom of the list detail page shows every asset class attribute and workflow field that uses this list. After a list is created, you can associate it with asset classes and workflows by selecting it when defining fields in the asset class or workflow builder.
Parent/child lists
Parent and child lists are two lists connected so that the options available in the child list depend on what's selected in the parent list. For example, if a parent list contains car manufacturers, the child list can be configured so that only the models belonging to the selected manufacturer are available to choose from.
To set up a parent/child relationship:
-
Create the parent list and add all parent values to it. For more information, see Creating a list.
-
Create the child list and add all child values to it. Include values for every option in the parent list.
-
Open the child list and assign the parent list using the Has Parent dropdown list.
-
For each item in the child list, assign the corresponding parent list item. This determines which parent value causes each child option to appear.
-
In your asset class or workflow, create a Multiple Choice field for both the parent and child lists.
When a value is selected in the parent field, the available options in the child list are filtered to show only the matching child items.
Security Rights Required: View List Definitions; Create/Edit List Definitions
Exporting a list definition
You can export any list definition to an .xlsx file. This is useful for reviewing list contents or as a starting point for an import. From the List Definition Search page, select Export on the list card (card view) or the Excel icon (list view). Alternatively, open the list and select Export.
An .xlsx file is created containing all fields for that list. You can edit the file and import it back into Utility Cloud. For more information, see Importing a list definition.
Security Rights Required: View List Definitions
Importing a list definition
You can create a new list or update an existing one by importing an .xlsx file. You can either download a blank template or import an edited export.
Downloading a template
To download a blank import template, from the List Definition Search page select Import, then select Download Template. An .xlsx file is created with all the fields needed to define a list.
Template fields
The template contains two sets of fields — one for the list itself and one for each item in the list.
List fields:
-
List ID: The ID of this list. Leave blank when creating a new list — this value is set automatically on import. Only enter a value when updating an existing list.
-
List Name: The name of the list.
-
Is Active: Enter
Truefor active orFalsefor inactive. -
Parent List ID: The ID of the parent list. Only required if creating a parent/child relationship.
-
Parent List Name: Read-only. The name of the parent list.
List item fields:
-
List Item ID: The ID of this item. Leave blank when creating a new list — this value is set automatically on import. Only enter a value when updating an existing item.
-
List Item Value: The option displayed to users when selecting from the list.
-
Is Active: Enter
Truefor active orFalsefor inactive. -
Allow Alternate Name: Enter
Trueto allow users to enter a custom text value when this item is selected. -
Aliases: One or more aliases for this item, separated by the
|pipe symbol. During an asset import, any value that matches an alias is automatically mapped to this list item. Aliases must be unique across all item names and aliases in the list definition. -
Parent List Item ID: The ID of the parent list item that controls when this child option is displayed.
-
Parent List Item Value: Read-only. The value of the parent list item that controls when this child option is displayed.
-
List Item Key: A unique value used to reference this item in calculations or visibility conditions.
-
Sort Order: The order in which this item appears in the list.
-
Date Last Modified: The date this item was last changed. Set automatically on existing items.
Importing your file
After completing your template or editing an export, you can import from the List Definition Search page. To import a list:
-
From the List Definition Search page, select Import.
-
Enter your file name by typing or browsing to its location, then select Upload.
After the import is complete, new lists are available in the List Definition Search and updated lists reflect their changes. If any alias in the import duplicates an existing item name or alias in the list definition, the import fails and a validation message identifies the affected row.
Security Rights Required: View List Definitions; Create/Edit List Definitions