
Accounts are an organizational unit in Utility Cloud, used to group assets and work within a business line. You can build hierarchies of parent and child accounts to represent divisions, departments, or facilities, and assign users to one or more accounts.
Searching for accounts
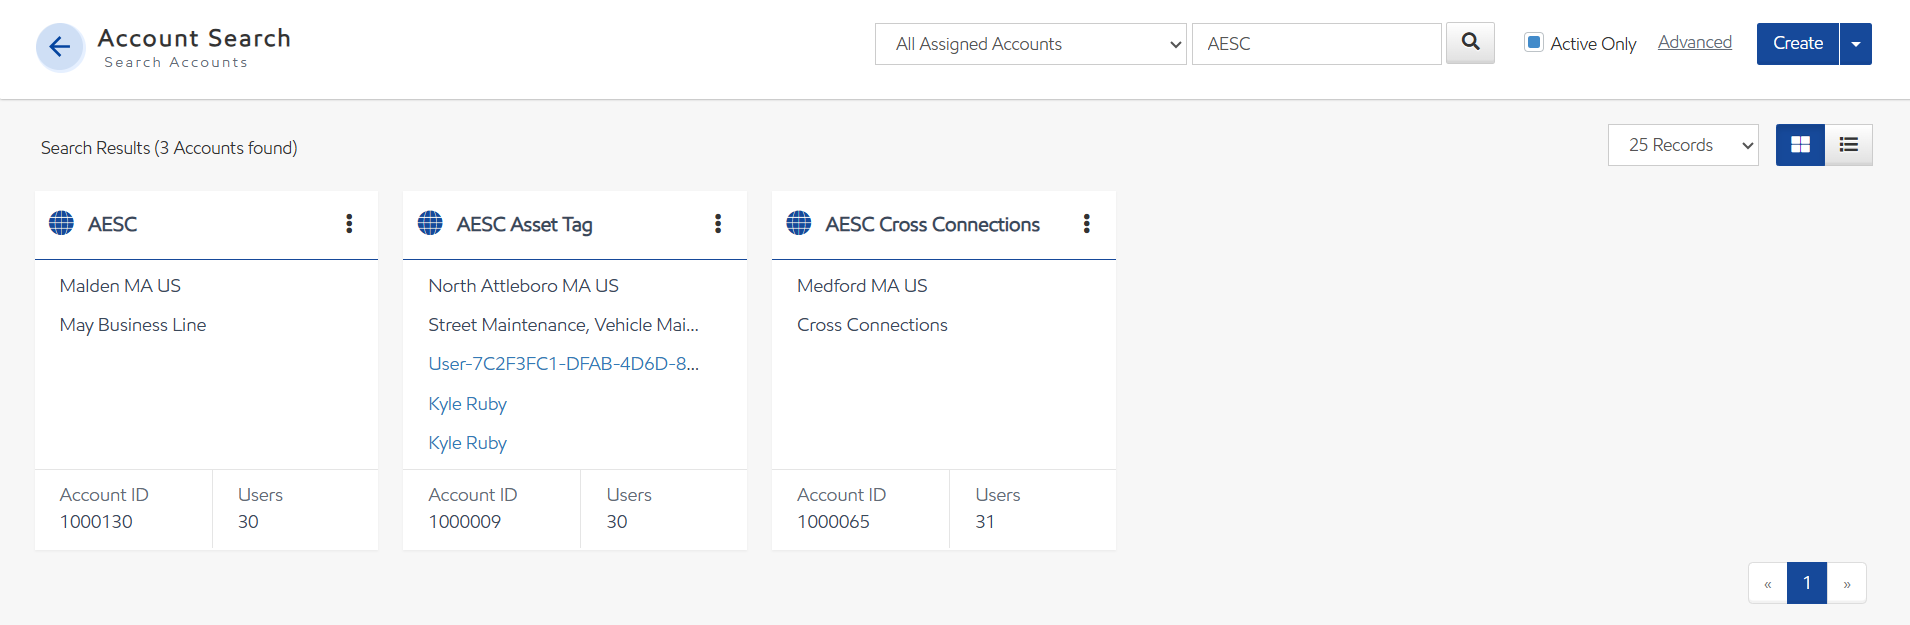
You can search for any accounts you have access to from the Account Search page, found by selecting the Accounts tile from the Landing Page or the navigation menu. By default, your most recently performed search displays on the page set to card view. To switch to list view, select List View, and to switch back to card view, select Card View. Selecting any account's card in card view or row in list view will take you to that account's Account Details.
In card view, search results show as a card with the following information displayed:
-
Account Name
-
Address
-
Business Lines
-
Stakeholders (if any; each stakeholder is listed individually)
-
Account ID
-
Number of users
In list view, results show in a list with columns for Name, Account ID, Address, Parent Account Name, and Parent Account ID. You can sort by selecting the column header title and filter by entering a filter value in the text box. You can also show or hide columns by selecting which columns you'd like to see in the Show/Hide Columns dropdown list.
Security Rights Required: View Accounts
Quick search

You can quickly find the accounts you're looking for through the quick search. To find an account through the quick search:
-
Select the Accounts tile from the Landing Page or from the navigation menu.
-
Enter your criteria in the search bar, then select Search.
A quick search returns all accounts where your criteria matches the account name, account ID, business line, or address. By default, only active accounts are returned, but you can also return inactive accounts by clearing Active Only.
Security Rights Required: View Accounts
Advanced search

You can be much more precise in which accounts are returned through an advanced search. To find an account through the advanced search:
-
Select the Accounts tile from the Landing Page or from the navigation menu.
-
Select Advanced.
-
In the Advanced Search panel, select any facet.
-
Where applicable, select an operator for that facet (such as equals or contains).
-
Where applicable, enter your criteria after the operator.
-
-
If necessary, select Add Rule to add a new rule to your search or Add Group to add a group of rules. By default, rules are set to AND. If necessary, select OR to change the conditions.
-
If you've added a group or rule you don't need, select Delete to remove it.
-
After your criteria is complete, select Search.
Advanced search returns all exact matches based on the criteria you entered for each facet.
To save a search, select Save and choose Save As to name the search. To use a saved search, select the Saved Search drop-down and select the desired search.
Security Rights Required: View Accounts
Exporting accounts
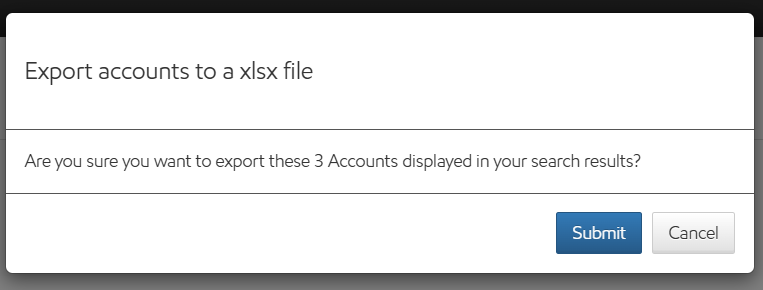
You can export any search results to a .xlsx file from Utility Cloud. To export accounts:
-
Select the Accounts tile from the Landing Page or from the navigation menu.
-
Select the down arrow button on the Account Search page, then select Export.
-
Select Submit to confirm. The results of the most recent search are selected for export.
Utility Cloud generates a .xlsx file containing the export results.
Viewing an account
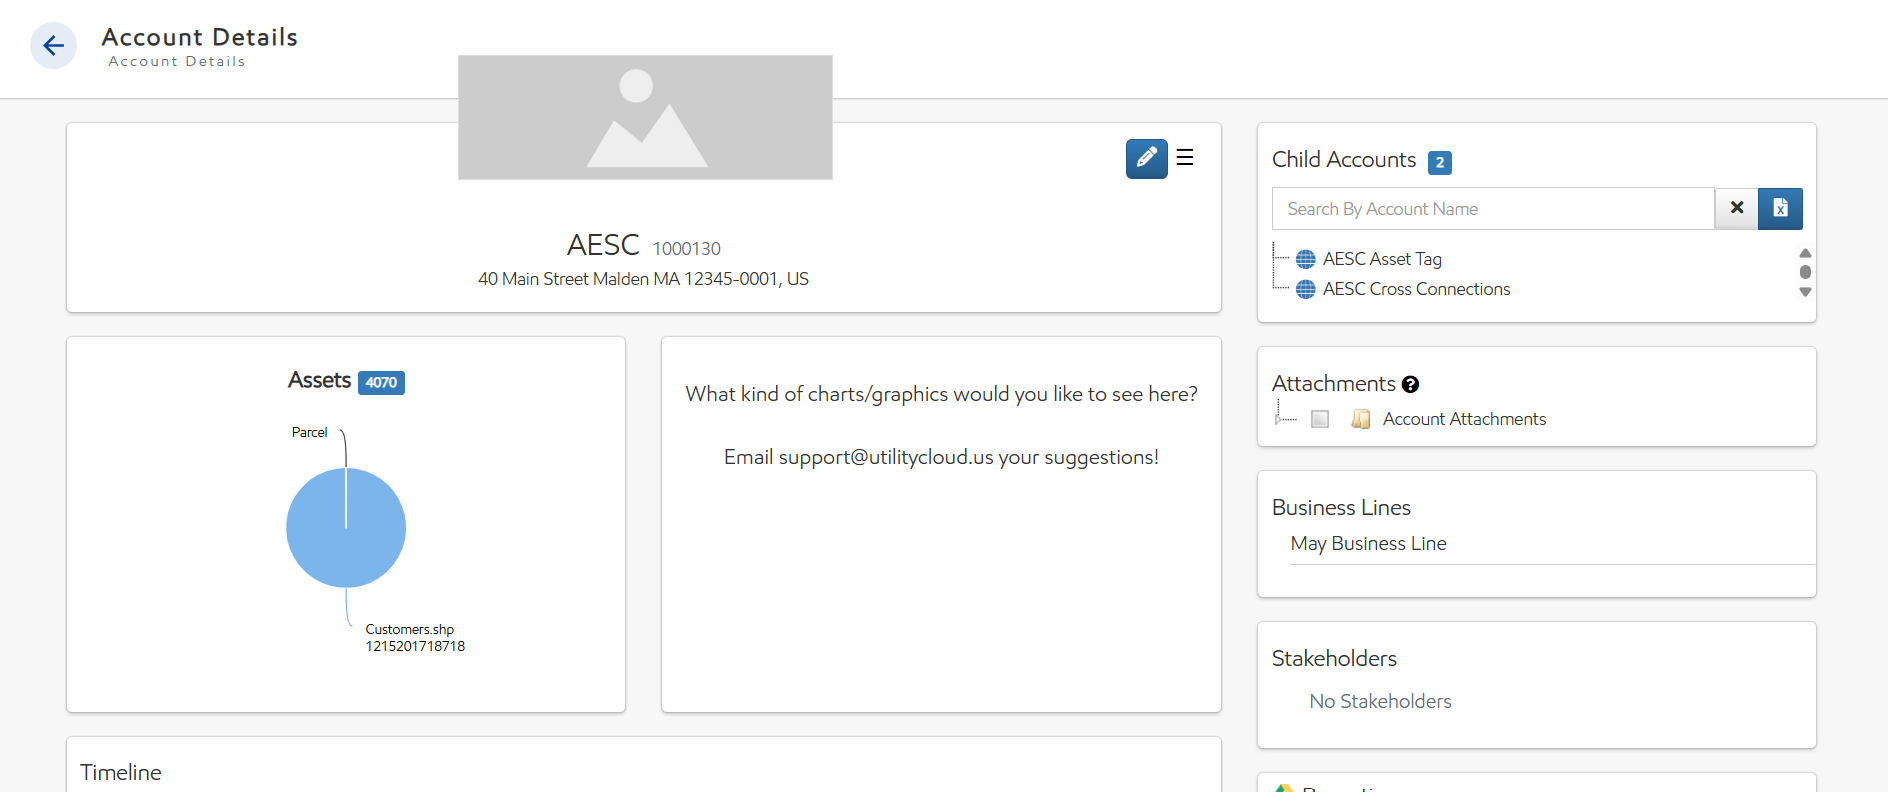
All details for an account are visible on the Account Details page. You can access it by selecting any account from the Account Search results. From here you can view the account's profile information, assigned users, child accounts, business lines, stakeholders, and reporting settings. Depending on your security rights, you can also edit all of this information.
Security Rights Required: View Accounts
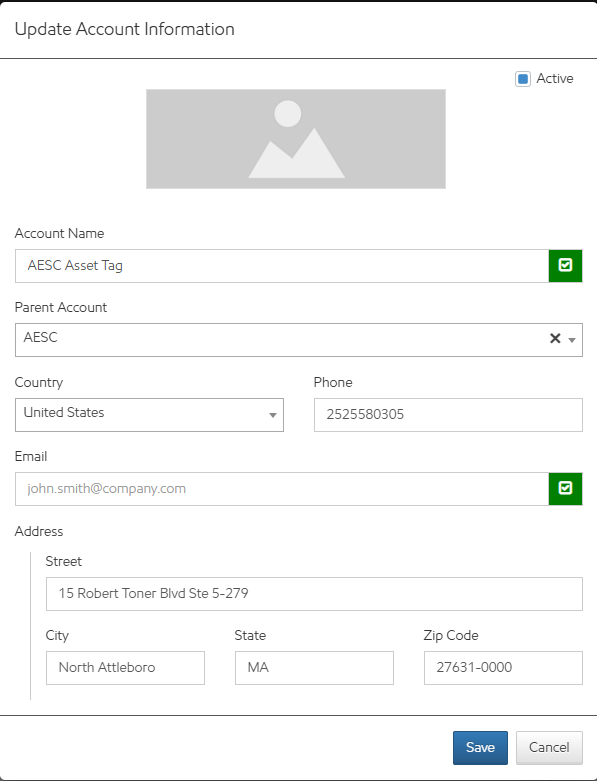
Account information
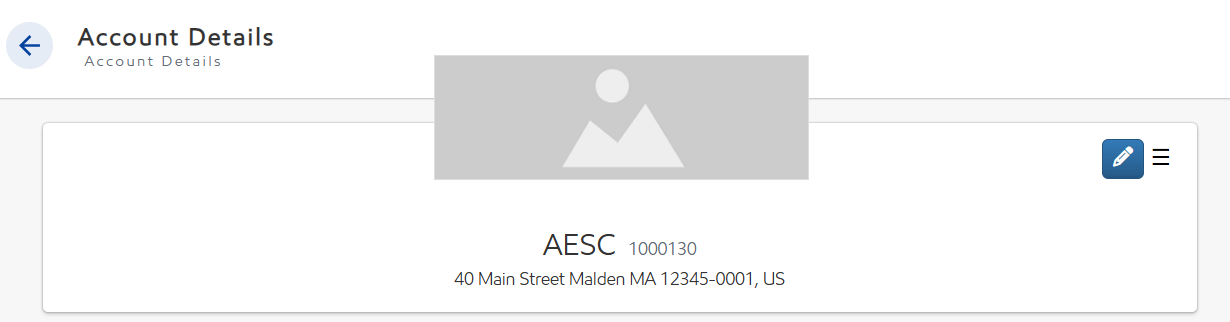
The Account Information panel contains general information about the account.
You can edit the account's information by selecting Edit in the upper-right corner of the Account Information panel. The following attributes are available:
-
Active: Whether the account is active in Utility Cloud. Inactive accounts are hidden from search results by default.
-
Account Photo: A profile image for the account.
-
Account Name: How the account appears in Utility Cloud. Required.
-
Account ID: A unique identifier for the account. Required.
-
Parent Account: The parent account, if this account is a child of another.
-
Country: The country the account is located in. Required.
-
Phone: A phone number associated with the account.
-
Email: An email address associated with the account.
-
Address: The account's address. If the country is set to United States, this is broken down into Street, City, State, and ZIP Code. Otherwise, it shows as a text input with four lines.
Security Rights Required: View Accounts; Edit Accounts
Assets

The Assets panel displays a pie chart of all active assets in the account, divided by asset class, along with the total number of active assets. Selecting an asset class label or the number of assets navigates to the Asset Search page, pre-filtered to show active assets of that class in the current account.
Security Rights Required: View Accounts
Timeline
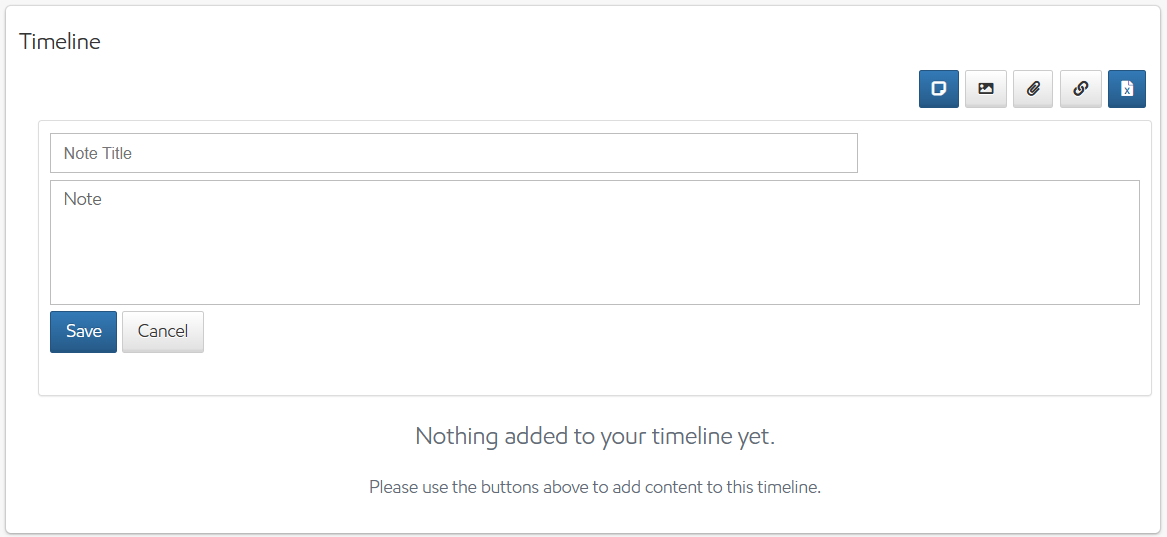
The Timeline panel displays notes added on the account. Unlike asset and work order timelines, no audits or automatically generated entries appear on the account timeline. Notes can include text, photos, attachments, or links, and you can reply to, tag, or export notes.
For full details on working with timelines, see Timeline.
Security Rights Required: View Accounts
Users
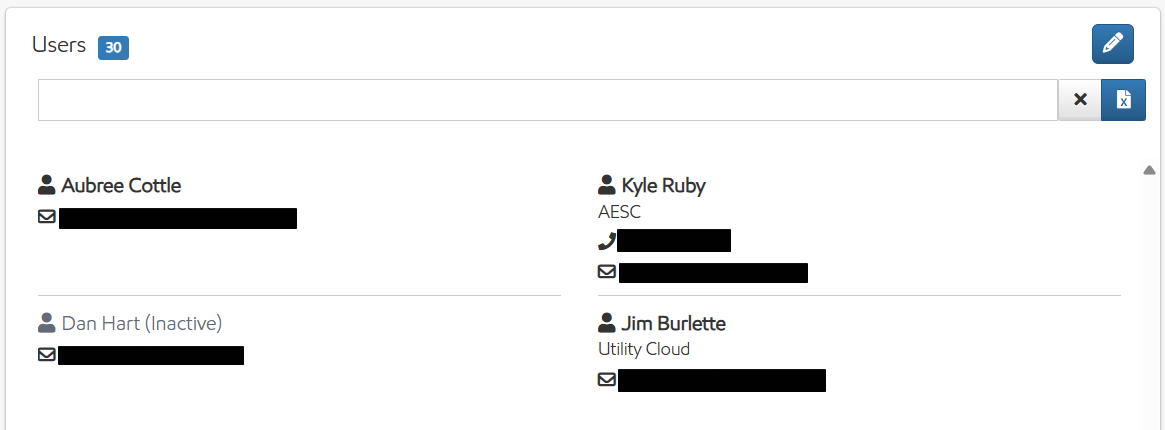
The Users panel contains all users assigned to the account. This determines which users can see and interact with the account and its associated assets and work orders in Utility Cloud.
You can edit the account's users by selecting Edit in the upper-right corner of the Users panel. Each user in the results displays their name, company, phone, and email. While editing, you can search for users to add or remove from the account. Selecting any result under Available Users adds them to Assigned Users. You can also:
-
Select Add All to add all users in your current results.
-
Select Remove Selected to remove all users in your current results.
-
Select Remove All under Assigned Users to remove all currently assigned users.
Accounts are not required to have any users assigned.
Security Rights Required: View Accounts; Edit Accounts; Edit Account Users
History
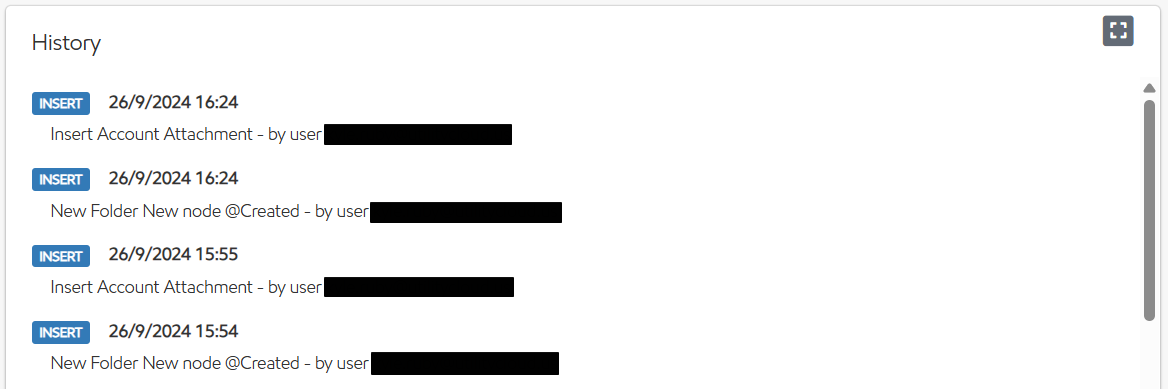
The History panel contains all audits of actions performed on the account. The History panel only shows the most recent 100 audits, but you can find all audits ever made against an account on the Audit Trail page.
Security Rights Required: View Accounts
Attachments
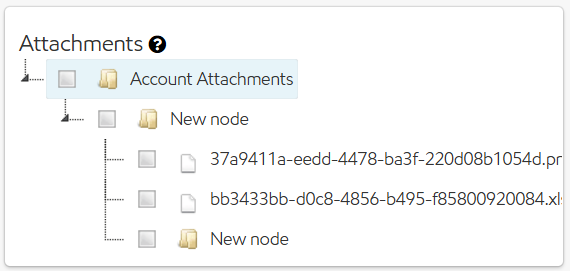
The Attachments panel lets you upload and organize files associated with the account in a folder structure. Folder and attachment names must be unique. Right-clicking on a folder gives you the option to create subfolders, upload files, rename attachments, or delete folders and attachments.
Security Rights Required: View Accounts
Child accounts
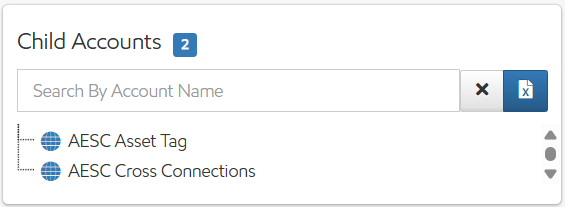
The Child Accounts panel displays all accounts nested beneath the current account in a tree view, collapsed by default, and is only shown if the account has at least one child. Accounts that have children of their own are shown with a gold account icon, while accounts without children are shown in blue. The panel is filterable, and you can export a list of all child accounts to a .xlsx file using the export option in the panel.
Security Rights Required: View Accounts
Business lines
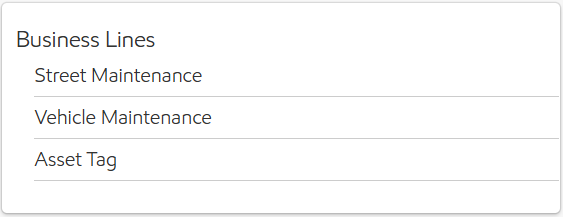
The Business Lines panel displays all business lines associated with the account. You can edit the account's business lines by selecting Edit in the upper-right corner of the panel, which opens a picker where you can add or remove business lines.
Security Rights Required: View Accounts; Edit Accounts
Stakeholders
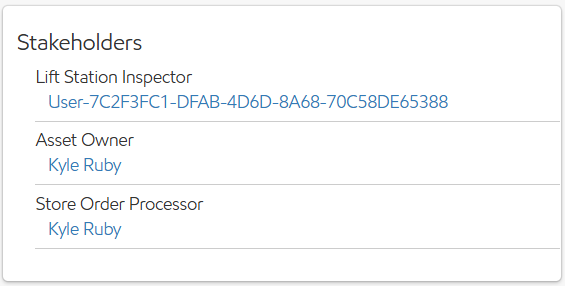
The Stakeholders panel displays all users assigned as stakeholders on the account. You can edit stakeholders by selecting Edit in the upper-right corner of the panel, where you can assign users to any stakeholder role available to the account.
Security Rights Required: View Accounts; Edit Accounts
Reporting
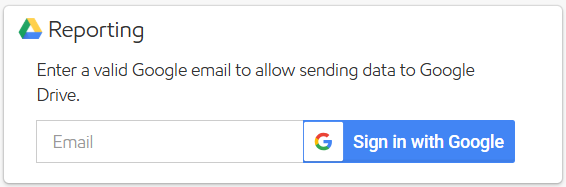
The Reporting panel displays the Google account linked to this account for Google reporting, or allows you to link one if none has been set up. To link a Google account, enter a valid Gmail address in the Email field and select Link, then follow the Google prompts to allow Utility Cloud access.
For more information on setting up and using Google reporting, see Reporting with Google.
Security Rights Required: View Accounts; Edit Accounts
Esri Online Subscriptions
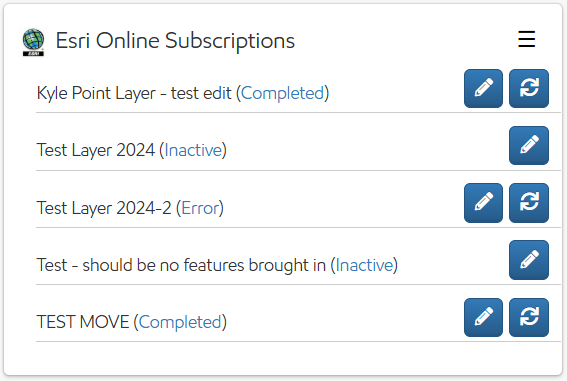
The Esri Online Subscriptions panel displays any active Esri ArcGIS subscriptions linked to the account, and allows you to configure the account's Esri connection. Esri subscriptions keep your Utility Cloud assets in sync with your ArcGIS feature layers on a scheduled basis.
For more information on setting up and managing Esri subscriptions, see Esri ArcGIS Subscriptions.
Security Rights Required: View Accounts; Edit User Esri Online Subscriptions
Muni-Link
The Muni-Link panel displays the Muni-Link integration configuration for the account. When configured, tasks created in Muni-Link are automatically sent to Utility Cloud as work orders, and completed work orders are sent back to Muni-Link.
For more information on setting up and using the Muni-Link integration, see Muni-Link.
Security Rights Required: View Accounts; Edit Muni-Link Integrations
Creating an account
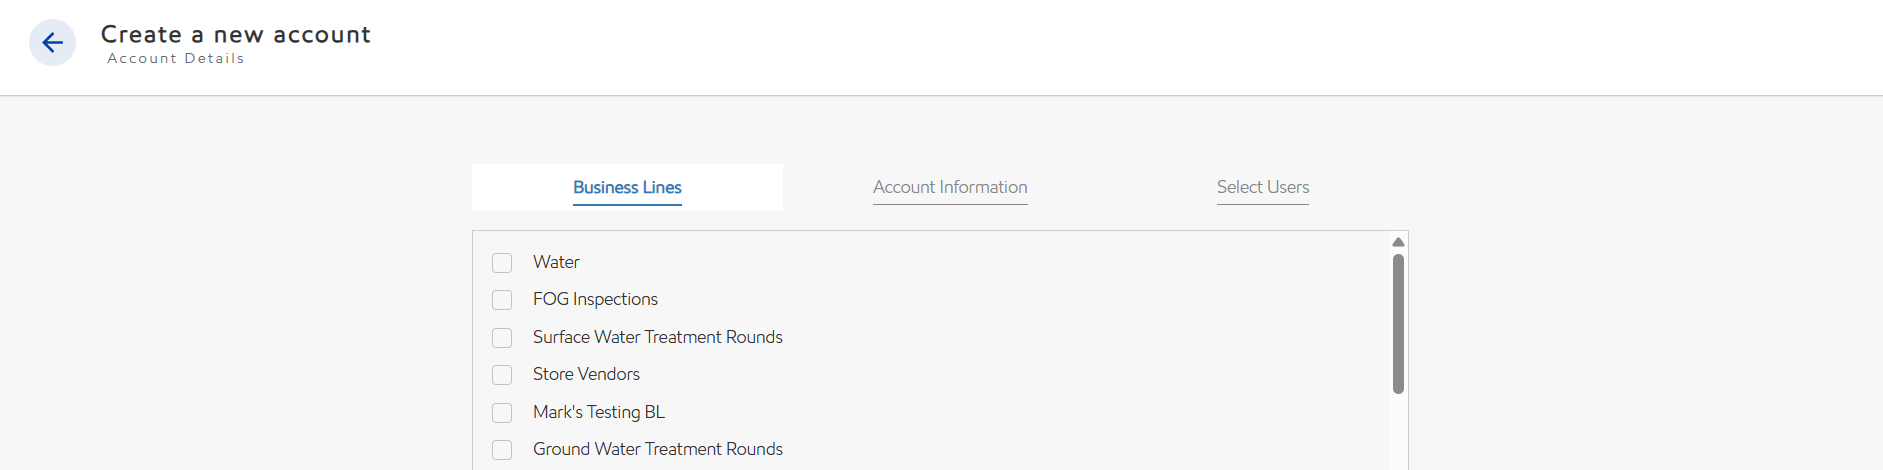
You can create a new account in Utility Cloud at any time from the Account Search page. To create an account:
-
Select the Accounts tile from the Landing Page or from the navigation menu.
-
Select Create in the upper-right corner of the page.
-
Select one or more business lines from the Business Lines tab, then select Next.
-
Enter the account name and any other desired information from the Account Information tab, then select Next.
-
Select any users to assign to the account from the Select Users tab, then select Save.
You are automatically added as an assigned user when creating an account, but can be removed. Accounts are not required to have any users assigned.
Security Rights Required: View Accounts; Create Accounts
Copying an account
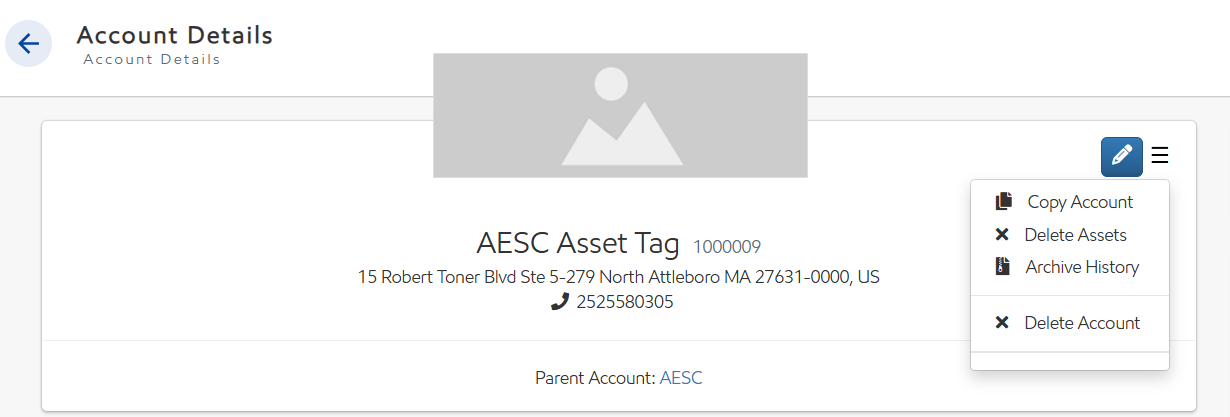
If you'd like to quickly create a new account with similar information to an existing one, you can copy it instead. Copying transfers basic information such as address, business line, and stakeholders to the new account, so you don't have to re-enter it. The following required fields are not copied and must be entered fresh:
-
Account Name
-
Account ID
To copy an account:
-
Select the Accounts tile from the Landing Page or from the navigation menu.
-
Locate the account you want to copy. You can select Copy Account from the account's card in the search results, or open the Account Details page and select Copy Account from the menu icon in the upper-right corner.
-
The Create a new account wizard appears. Enter the required fields and update any information that is no longer accurate.
-
Select Save to create the copied account.
Security Rights Required: View Accounts; Copy Accounts
Importing accounts
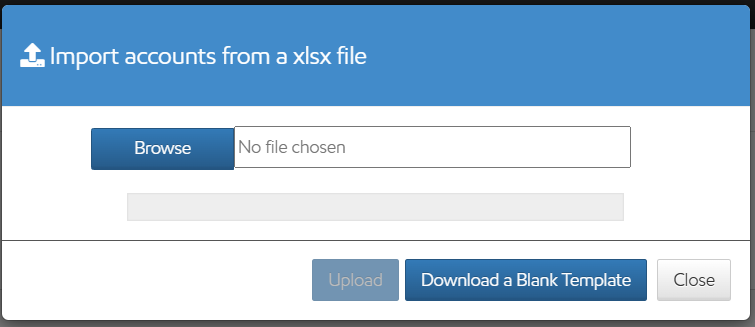
You can create or update a large number of accounts all at once by importing an .xlsx file. To import accounts:
-
Select the Accounts tile from the Landing Page or from the navigation menu.
-
Select the down arrow button on the Account Search page, then select Import.
-
Select Download a blank template, save it to your environment, and open it in Microsoft Excel to fill in the details. For guidance on each field, see Import field notes below.
-
Upload the file by dragging it into the box, or select Choose Files to browse for it.
-
If the import fails, select the file name to view the error report. Fix all errors and repeat the import until successful.
Importing is limited to a maximum of 5,000 rows. If you have more than 5,000 accounts to import, divide your file into two or more files. If the information was incorrectly formatted, the import will fail and an error log will be emailed to you or can be downloaded from the Landing Page.
Security Rights Required: View Accounts; Edit Accounts; Import Accounts
Import field notes
-
New Path: To set or update parent/child relationships on import, define a path using the format
Parent Account!Child Account. Utility Cloud imports the accounts along with their relationships automatically. -
Original Path: To update an existing account, enter its current path.
-
Account Name (required): Must be unique and 100 characters or less. Account names may not contain the
!character. -
Account ID: If assigning account IDs, enter a unique ID for each account.
-
Is Active: Enter
TRUEorFALSE. Must beTRUEfor a new account. -
Address Country (required): Enter the two-letter country code. US addresses will be validated and must be entered on separate lines: Address 1 = street, Address 2 = city, Address 3 = state abbreviation, Address 4 = postal code.
-
Phone: Include the area code.
-
Phone Extension: If applicable.
-
Business Lines (required): Enter business line names exactly as they appear in Utility Cloud. Separate multiple business lines with a
+sign, for example:Water+Cross Connection. -
Stakeholder Email (Stakeholder Role): Enter each stakeholder in the format
email(stakeholder type), separated by+, for example:userA@example.com(Asset Owner)+userB@example.com(Asset Owner). -
Google Email: The Google email address used for custom reports.
-
Google Password: The Google email password used for custom reports.
Editing an account
All details for an account are visible and editable from the Account Details page. To edit an account:
-
Select the Accounts tile from the Landing Page or from the navigation menu.
-
Search for the account to edit, then select it from the results to open the Account Details page.
-
Select Edit in the upper-right corner of the section. Each section is editable independently.
-
Enter or update the account information.
-
Select Save.
Security Rights Required: View Accounts; Edit Accounts
Changing an account parent
When you change the parent account for a child account, you'll be prompted to update the users associated with it. From the Update Account Information dialog:
-
Select the Parent Account field and choose the new parent.
-
Select Save. The Search for and add users dialog appears.
-
Update the users and select Save, or select Cancel to exit without updating the account users.