
Nearly every action in Utility Cloud is governed by a security right, and security roles are collections of those rights. Each role contains every security right you need to do your job in Utility Cloud, while restricting access to anything you shouldn't see or change. You can group your security roles however works best for your billing account – common examples include administrators who configure the billing account, dispatchers who review and assign work, and field workers who perform it – but you can create any number of roles to meet your needs.
Your security roles
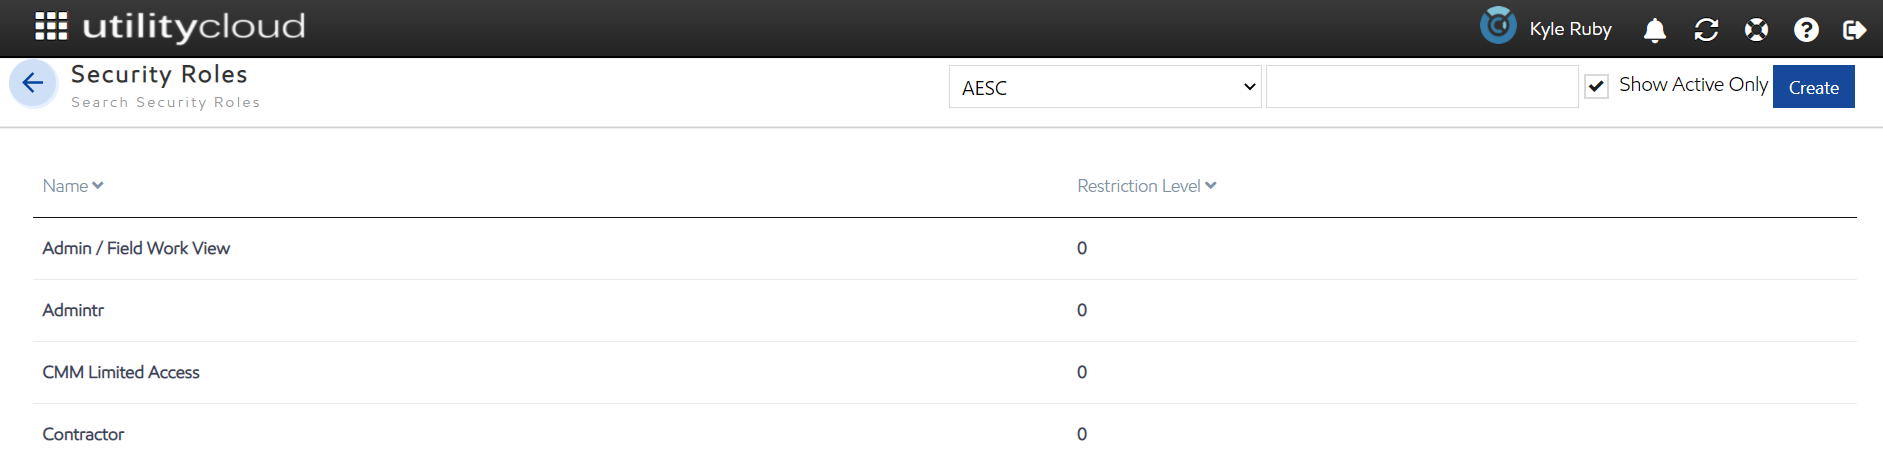
All your billing account's security roles are available on the Security Roles page, accessible from the Security Roles tile on the Landing Page or the navigation menu. From there you'll see your security roles sorted by Restriction Level, and you can filter for specific roles.
Selecting any security role opens the Security Role Rights page for that role, where you can view the role and its details, including the individual rights assigned to it.
Security Rights Required: View Security Roles
Creating and editing security roles
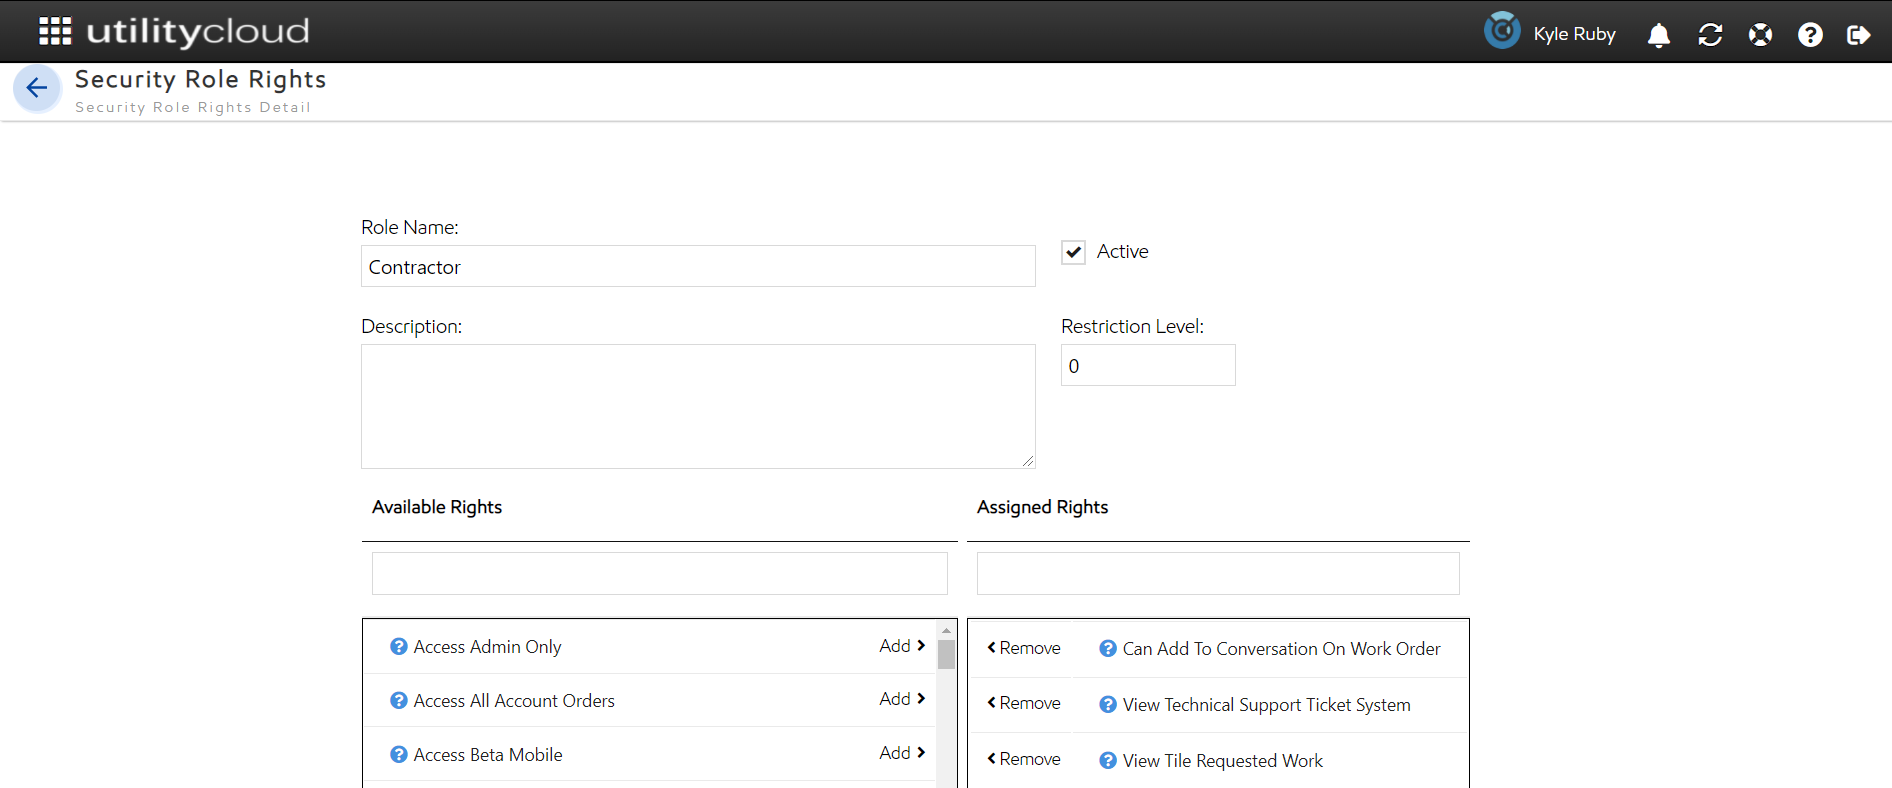
When you're first onboarded with Utility Cloud you'll have access to several security roles straight away, but you can create and maintain any number of security roles you need in your billing account. Every security role has the following attributes:
-
Role Name: The name of your security role, shown on the Security Roles page and the Roles panel on the User Details page.
-
Active: Whether your role is active or inactive. Inactive roles aren't available to add to any of your users.
-
Description: The description added to your security role is visible when adding or removing roles from a user on the User Details page.
-
Restriction Level: An attribute describing the relative access the security role allows, set to 0 by default. For more information, see Restriction levels below.
-
Available Rights: All security rights available to add to a security role. Selecting the icon shows you a description of what that right does.
-
Assigned Rights: All security rights currently assigned to your security role. Selecting the icon shows you a description of what that right does.
Creating a security role
To create a security role:
-
From the Security Roles page, select Create.
-
Enter a unique name for your security role in Role Name.
-
Select any right under Available Rights, then select Add to assign it to the role. Repeat until all the rights you need are added.
-
Select Save.
After saving, your security role is available on the Security Roles page and can be added to any of your users.
Security Rights Required: View Security Roles; Create Security Roles
Editing a security role
To edit a security role:
-
From the Security Roles page, select the security role you'd like to edit.
-
Make any changes to your security role.
-
Select any right under Available Rights and select Add to assign it; select any right under Assigned Rights and select Remove to remove it. Repeat until the role has all the rights you need.
-
Select Save.
After saving, any changes to assigned rights are reflected immediately for all users assigned that role.
Security Rights Required: View Security Roles; Edit Security Roles
Copying a security role
To copy a security role:
-
From the Security Roles page, select the security role you'd like to copy.
-
Select Copy at the bottom of the page.
-
Enter a unique name for your security role in Role Name.
-
Select any right under Available Rights and select Add to assign it; select any right under Assigned Rights and select Remove to remove it. Repeat until the role has all the rights you need.
-
Select Save.
After saving, your new security role is available on the Security Roles page and can be added to any of your users.
Security Rights Required: View Security Roles; Copy Security Roles
Restriction levels
You can set restriction levels on security roles to control which users can be viewed or edited by other users in your billing account. Any security role can be assigned a restriction level. The default is 0, which carries no restriction and is the most permissive level. Restriction levels have 2 purposes:
-
Restricting which security roles can be assigned to a user when creating or editing.
-
Restricting which users another user can view or edit.
A user's restriction level is determined by the security role with the lowest restriction level number assigned to them. For example, if a user has 2 roles – one with a restriction level of 100 and one with a level of 200 – their effective restriction level is 100.
If your restriction level is anything other than 0, you can only assign security roles you're already assigned when creating and editing users, and only roles with a lower restriction level number than your own. If your restriction level is 0, these rules don't apply and you can add any security role. The one exception is the Access Admin Only security right – users with this right can assign any security role to a user as long as it has a lower restriction level number than their own, but they can't edit their own security roles.
A user can only view or edit other users with an equal or lower restriction level number. The table below shows which users can view and edit each other based on their restriction level:
|
|
Administrator (Level 0) |
Dispatcher (Level 100) |
Field Worker (Level 200) |
|---|---|---|---|
|
Administrator (Level 0) |
Can view/edit |
Can view/edit |
Can view/edit |
|
Dispatcher (Level 100) |
Can't view/edit |
Can view/edit |
Can view/edit |
|
Field Worker (Level 200) |
Can't view/edit |
Can't view/edit |
Can view/edit |