
Key Points to Map
-
Designated area where workers can go to view their work.
-
Enables workers to see where their assets are.
-
Allows workers to see completed and not completed work.
-
Easily turn on and off layers to see assets of your choosing.
-
Easily create Assets while in the field or in the office.
Detailed Description of Map
The Map tile is a centralized location to visually see your assets in the field in relationship to one another. The Map empowers the user to efficiently see what assets in the field have to have work and allows the user to find the assets quickly. The Map tile allows users to turn on and off different asset classes to visualize all assets or pick and choose what assets to see and at what zoom level.
The Map tile allows the user to see their Assets in four different ways.
-
Through Google Map where users can see the street names and the building footprints.
-
Satellite view where users can see the aerial of the surrounding area to visually see the earth.
-
Google Street view which gives the user the ability to visualize their assets from the perspective of standing on the street.
-
Upload your own flyover data to get the best quality to your standards (additional charges apply; upload and configuration is performed by engineering). ESRI can be used to create a tile package for Google: https://desktop.arcgis.com/en/arcmap/10.4/map/working-with-arcmap/about-tile-packages.htm. with these images the development team can import and configure the billing account to support the new bas map.
Within the Map tile users also have the ability to view work reports on your assets whenever they are needed. Along with visualizing all of your data, users have the option to create new assets on the go while in the field or in the office.
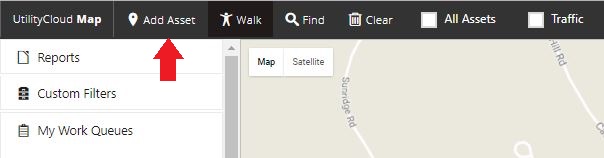
Create Assets through Map
Quick Steps to Create an Asset through Map
-
Select the Map tile from the Dashboard.
-
Select the Add Asset icon in the top left.
-
Select which Account and Asset Class the Asset goes to and press Next.
-
Drag and drop where on the map the Asset belongs.
-
Fill out Asset Information and Attributes.
-
Select Save at the bottom of the screen.
Security Rights Required: Create Assets
Video
Detailed Steps to Create an Asset through the Map
New Assets can be added by any User with the security right Create Assets. Any admin user can go into the Security Roles tile, select a security role, then add Create Assets to the list of Assigned Rights. When creating an asset through the Map or Assets the user will be prompted to fill out the Asset Create details tab.
-
Asset ID: The asset ID is used to identify an asset when searching for it.
-
Account: The account will already be chosen and nothing needs to be done to this section.
-
Asset Class: From the previous section the user will have already chosen the Asset Class. If wrong Asset Class was chosen, changing it is possible.
-
Asset Description: Asset Description is used to describe the Asset for future searching.
-
Date Installed: List the date asset was installed if known.
-
Parent Asset Key: Leave blank if Asset is not a part of a relationship, if parent is known type the key here to link the Assets.
-
Asset Tag: If Asset has an Asset Tag type code here to link Asset to Asset tag for easy scan and go feature.
-
Attributes: Predetermined Attributes to fill out if applicable.
-
Locate your Asset: Either drag and drop, locate yourself, find an address, or enter coordinates to locate where in the world your asset belongs.
-
Select Save.
Search Assets on the Map
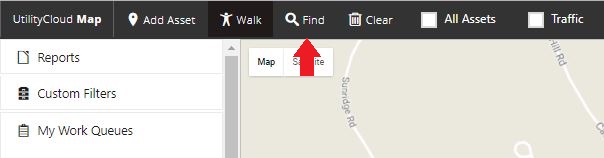
Quick Steps to Search for Assets on Map
-
Select the Map Tile from the Dashboard.
-
Select the Find icon.
-
Select the arrow to choose the search criteria from the list.
-
Enter a search value in the Search text box.
-
The system will trigger a search and return the results below.
Security Rights Required: View Map
Video
Detailed Options to Search for Assets on Map
Within the Map, there are two different tabs available to search for assets.
The first tab By Asset allows the user to perform an asset search using any of the following criteria to find a match:
-
All Asset Data
-
Asset ID
-
Asset Class
-
Description
-
Stakeholders
The search results will return all assets where the system finds the value contained within the specified criteria. To limit the search results to assets where the system finds an identical match, select the Exact Match checkbox.
By Address allows the user to perform a search by address.
All Asset Data
Select All Asset Data to search for an asset across all asset fields.
-
Select the All Asset Data radio button from the list.
-
Enter any search value in the Search text box.
Asset ID
Select Asset ID to search for a specific Asset ID.
-
Select the Asset ID radio button from the list.
-
Enter an Asset ID in the Search text box (the complete Asset ID is required with Exact Match).
Asset Class
Select Asset Class to search for assets in a specific Asset Class.
-
Select the Asset Class radio button from the list.
-
Enter an Asset Class in the Search text box (the complete Asset Class name is required with Exact Match).
Description
Select Description to search for assets with a specific Description.
-
Select the Description radio button from the list.
-
Enter an asset description in the Search text box (the complete Description is required with Exact Match).
Stakeholders
Select Stakeholders to search for assets with a specific Stakeholder (name or email).
-
Select the Stakeholders radio button from the list.
-
Enter the Stakeholder name or email address in the Search text box (the complete Stakeholder name or email address is required with Exact Match).
By Address
Select the By Address tab to search for assets by address.
-
Enter the address as indicated.
-
Select OK to search.
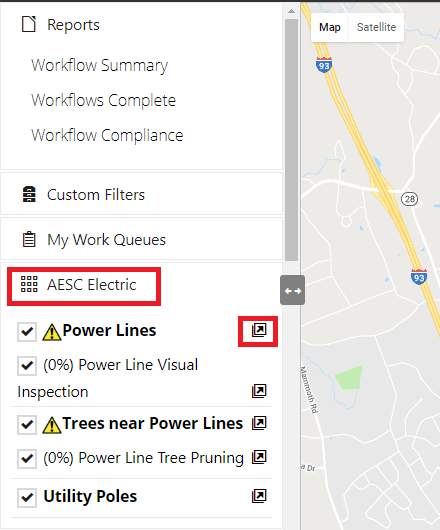
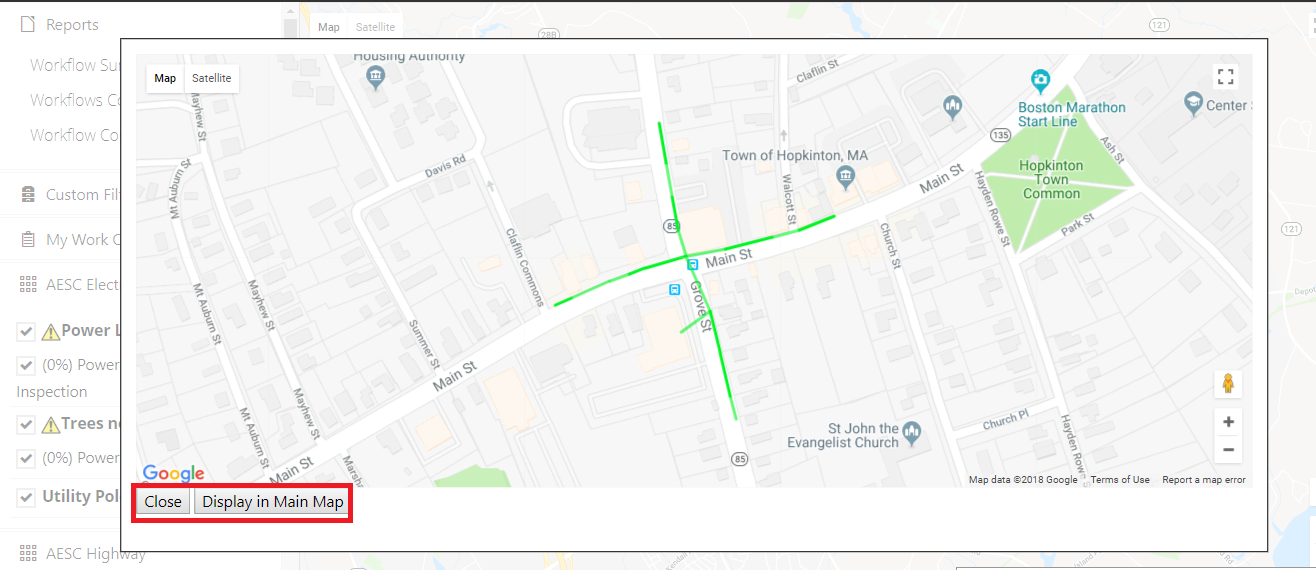
Custom Filters
Users can create custom filters, filter assets by accounts or filter by work queues. Selecting an account will show all of the asset classes associated with that account. Selecting the black squares with an arrow will display that asset class' assets on the map in a smaller window.
Custom Filters can be created on the Custom Asset Filters page via the Map Asset Lists tile.
Security Rights Required: View Custom Views
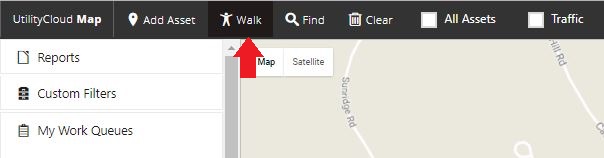
Walking the Line
Walking the Line is necessary for completing work on linear assets, such as pipes sidewalks and roads. This functionality is typically used by the gas department for detecting gas leaks and by highway departments with sidewalk and street sweeping.
Quick Steps to Walk the Line
-
Select the Map tile from the Dashboard.
-
Select the Walk icon in the top left.
-
Pick between your linear Workflow to perform work on your linear assets.
Security Rights Required: View Map
Detailed Steps to Perform Walk the Line
To use the Walk the Line feature users must create in their account linear assets and linear workflows. When scheduling the work users have the ability to choose how frequently work needs to be completed. In cases of blizzards, management can set the work due to every hour to ensure the snow is being removed on a timely manner for the safety of their citizens.
To get started, the user would select the Walk icon on the top menu and select a linear workflow to start Walking the Line. As the users walks along the linear asset or pipe, Utility Cloud will beep and each line segment will change color as the user walks across the Linear Asset (the linear asset will change from the asset class work due color to the asset class work completed color).
When the user has finished Walking the Line specified in your linear asset class and workflow in real-time, the work will be complete.
Users can stop at any time by selecting the Stop button under the red blinking man on the right side of the map. Users can resume the inspection at a later date and pick up where the user left off.
If users detect an issue during the inspection, such as a gas leak, the user may create a work order automatically by selecting work request to schedule a repair or further inspection.
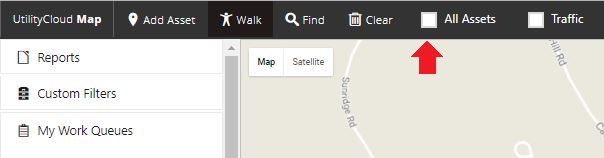
Select All Assets
If the user would like to see all assets in a specified area, check off the All Assets checkbox. Make sure the user is zoomed in enough to a small area otherwise the map will be cluttered with all the assets and may impact system performance if the user has thousands of assets. This is typically used when the user is zoomed in on a particular street and would like to see all the assets in the area.
Quick Steps to Selecting All Assets
-
Select the Map tile from the Dashboard.
-
Select the All Assets icon in the top left.
-
All Assets will appear on your Map.
Security Rights Required: View Map
Detailed Steps to Selecting All Assets
If the user would like to see all assets in a specified area, check off the All Assets checkbox. Make sure the user is zoomed in enough to a small area otherwise the map will be cluttered with all the assets and may impact system performance if the user has thousands of assets. This is typically used when the user is zoomed in on a particular street and would like to see all the assets in the area.
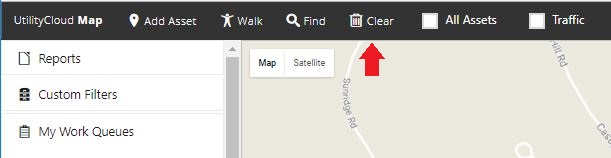
Clear Assets in the Map
Selecting the Clear button un-checks all boxes next to the Asset Class clearing all Assets off of the map. Selecting the clear button allows users a quick alternative to clear all assets rather than scrolling through all of the Asset Classes and un-checking the visibility on the map one at a time. Selecting the Clear button on the Map does not delete any data, only hides visibility off all Assets on the map.
Quick Steps to Clearing Assets in the Map
-
Select the Map tile from the Dashboard.
-
Select the Clear icon in the top bar.
Security Rights Required: View Map
Video
Detailed Steps to Clearing Assets in the Map
Selecting the Clear button un-checks all boxes next to the Asset Class clearing all Assets off of the map. Selecting the clear button allows users a quick alternative to clear all assets rather than scrolling through all of the Asset Classes and un-checking the visibility on the map one at a time. Selecting the Clear button on the Map does not delete any data, only hides visibility off all Assets on the map.
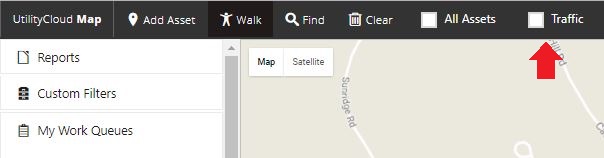
Viewing traffic in the Map
Selecting the Traffic Check Box will allow the user to view the current traffic conditions while in Map view. Traffic will not display in Satellite view.
Quick Steps to Viewing Traffic in the Map
-
Select the Map tile from the Dashboard.
-
Select the Traffic check box in the top bar.
Security Rights Required: View Map
Detailed Steps to Viewing traffic in the Map
Selecting the Traffic check box will allow the user to view the current traffic conditions while in Map view. Traffic will not display in Satellite view.
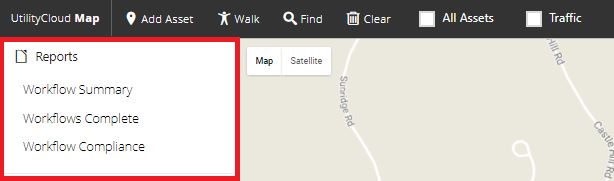
Selecting Reports
Quick Steps to Selecting Reports
-
Select the Map tile from the Dashboard.
-
Select the Reports dropdown in the top left.
-
Select either Workflow Summary, Workflow Complete, or Workflow Compliance
Security Rights Required: View Map
Detailed Steps to Selecting Reports
-
Workflow Summary: This report provides a summary of all workflows for a particular account and allows the user to enter a date range to see how many of the workflows were completed during a specified date range. To run the report enter the specific data range and select the “Refresh” tile. The report can be exported to excel using the Export tile.
-
Workflows Complete: This report provides detailed information on the workflows competed. The user can filter the report based on the first and last name of the user that completed the workflows, the asset id, asset description, asset class and/or workflow for a specified date range. To run the report, enter the specific data filters and select the “Refresh” tile. The report can be exported to excel using the “Export” tile. The workflow itself can also be viewed from here by selecting the view hyperlink.
-
Workflow Compliance Report: This report provides detailed information for specific workflows. User may filter by Account, Asset Class, Workflow, within a chosen start and end date to view all details for that specific report.
Using the 'Follow Me' Feature
This option is located at the bottom of the map menu under the GPS Info section. If the user is using a mobile device and moving, the map will follow their location. This requires Location Services on the mobile device to be active. It also requires the user does not have the Hide My Location security right assigned to their user.
If this option is not visible, select the GPS Info to expand the section.

Related articles