
What are triggers?
Triggers are settings on an asset class or workflow that perform various actions automatically when certain conditions are met on completing work or saving an asset. Triggers can be set to add a note to an asset's timeline, create a work order on an asset, send an email alert to users in Utility Cloud, update an asset's attributes, update an asset's indicator text on the map, or create an asset.
Creating a trigger
Triggers are created the same for asset classes or workflows from either the Asset Class Builder or Workflow Class Builder pages. To create a trigger:
-
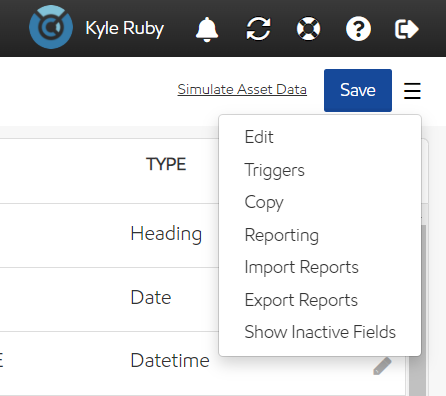
From the Asset Class Builder or Workflow Class Builder, select Triggers from the upper-right dropdown of the page.
-
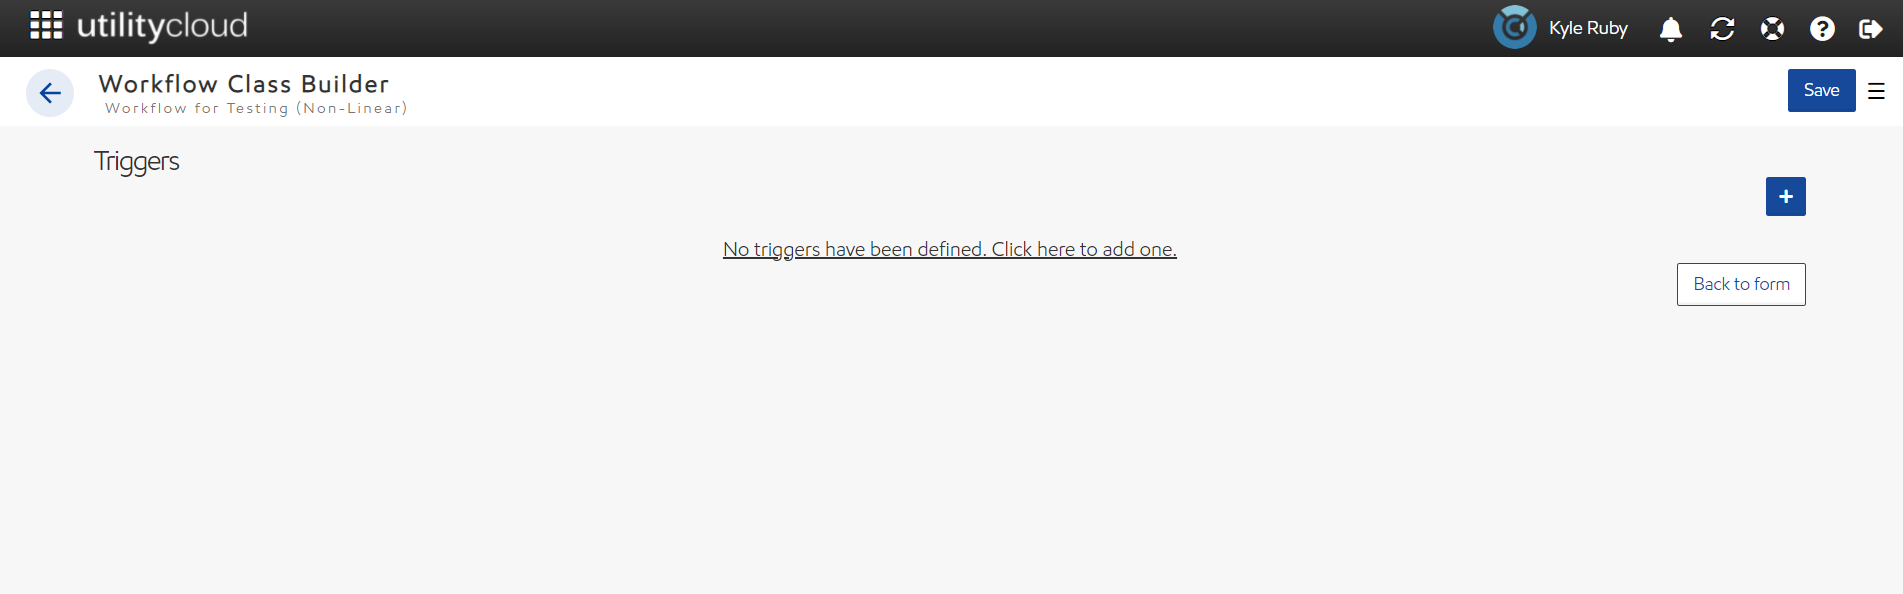
From the Triggers view, select the

-
In Conditions, set the conditions that should cause your trigger action to occur.

-
In Actions, set the actions that should occur when your trigger condition is met.

-
Select Save in the upper-right of the page to save your asset class or workflow and the changes you've made to your triggers.
You can add as many triggers as you'd like to your asset class or workflow.
Security Rights Required: View Asset Classes; Edit Asset Classes (for asset classes); View Workflow Classes; Edit Workflow Classes (for workflows)
Trigger conditions

Your trigger conditions determine when your trigger action occurs. Trigger conditions can be set to either always occur, or set based on AND or OR conditions from within your asset or workflow, similar to how you would build an advanced search query on other pages. You can add a single rule selecting Add Rule or a grouping of nested rules by selecting Add Group.
Trigger actions
You can set several different types of trigger actions in your asset class or workflow depending on your needs. Multiple actions can be assigned to one condition. Each action can be set to occur only the first time the condition is met by enabling the one-shot setting, otherwise they will occur every time the condition is met on saving your asset class or workflow.
Add to asset timeline trigger

With asset timeline triggers, you can add a timeline entry to the asset you're editing or completing work against. You can set a static message by selecting Custom Message and entering the message you'd like to see or add the value of a field from your asset or workflow by selecting Field Value and the field you'd like to see in your asset timeline.
Create a work order trigger

With work order triggers, you can create a work order against the current asset you're editing or completing work against, a statically-defined asset (such as a central "filing cabinet" asset"), or a dynamic asset based on an assets field in your workflow or asset class.
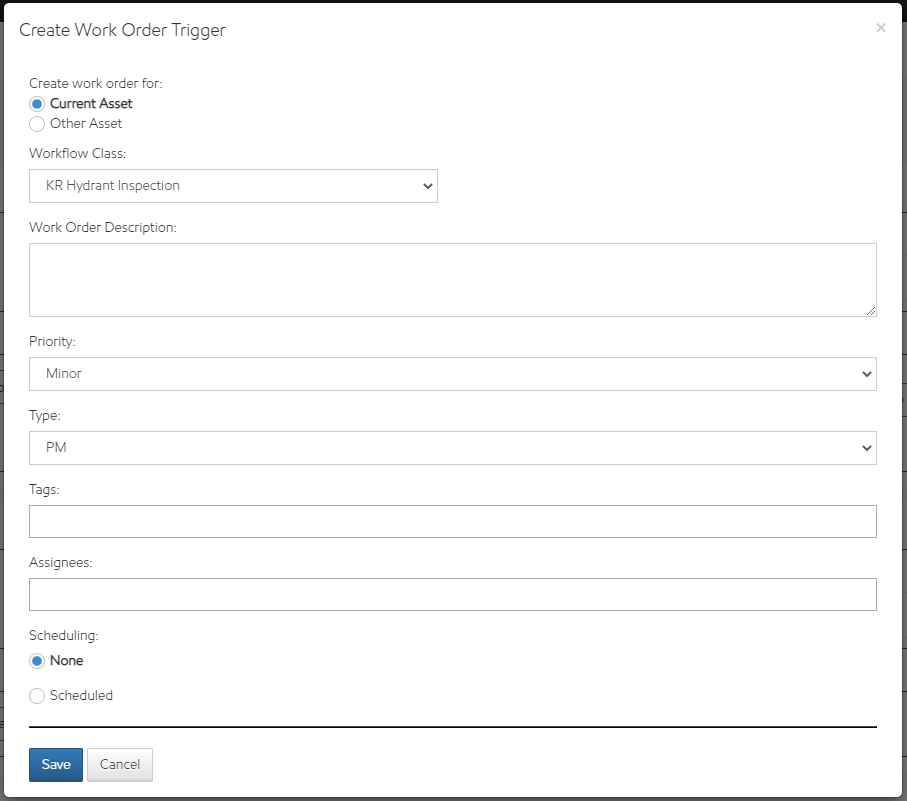
When selecting Current Asset, the triggered work order will be created on the asset you're editing or that you're completing work against. You can set the workflow and other work order details normally, as well as schedule your work order with either no start date or a start date a certain amount of time from when the work order was triggered.
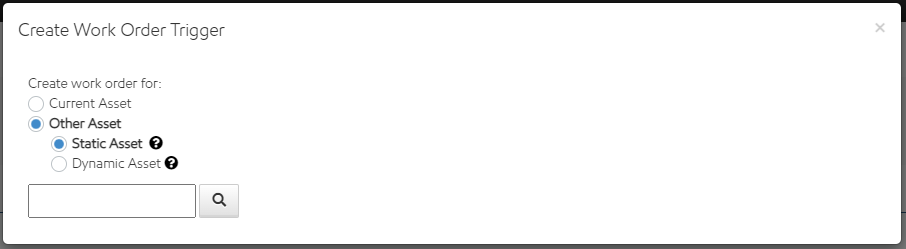
When selecting Other Asset, you can select either a static asset to create the work order on or a dynamic asset set by the user in an assets field in your workflow or asset class.
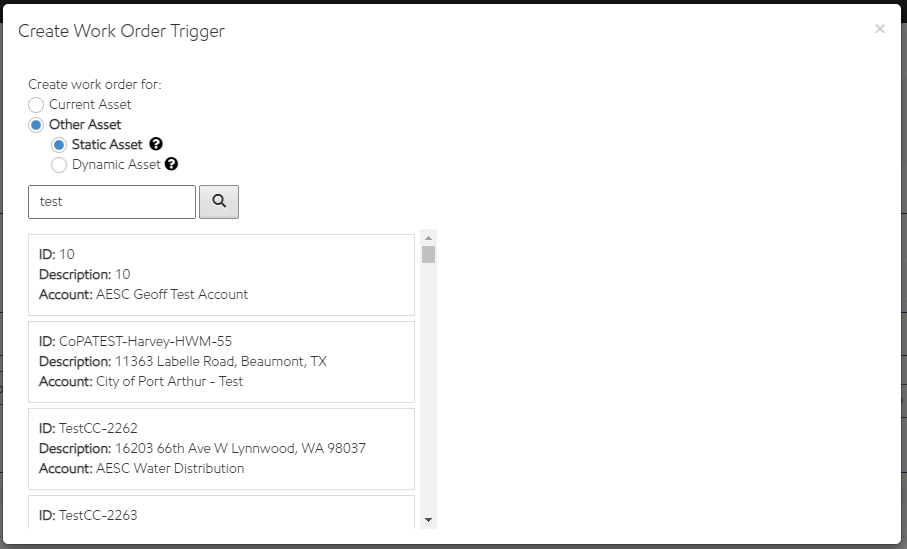
For Static Asset, enter search terms to find the asset you want, then set the workflow and other work order details normally.
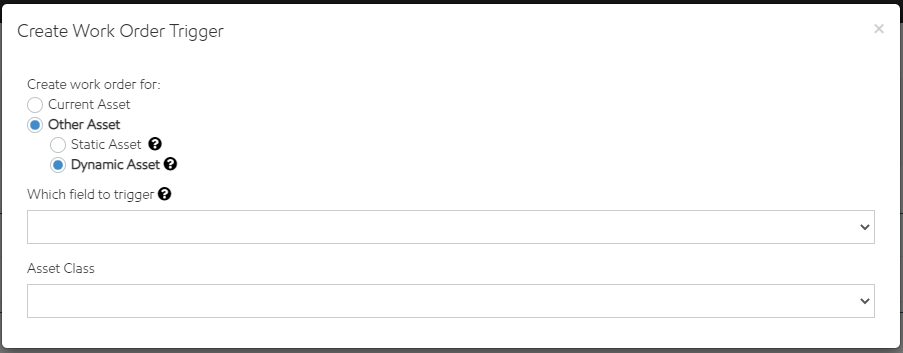
For Dynamic Asset, first select the assets field from your workflow or asset class that will determine which asset the work order is created against, then select an asset class. After that, you'll set the workflow and other work order details normally.
When creating a dynamic asset trigger, work orders will only trigger on a selected asset if it matches the asset class in the trigger. If you'd like work orders to trigger on multiple asset classes then you'll need to create a separate trigger action for each asset class.
Send email alert trigger

With send email alert triggers, you can send a message to other users in Utility Cloud or even external users. These messages can consist of a field's value from your workflow, the results of an entire workflow or all of an asset's details, or a custom message.
Update asset attribute trigger

With update asset attribute triggers, you can update an asset's attributes when completing work against that asset. To add an update asset attribute trigger, first select the asset class that should receive the update, then the field on that asset class to be updated. From there, you can update that field with a static value set in your workflow by selecting Custom Value or update it with the value from the workflow by selecting Field Value, then the field that will provide the update value.
It's possible to map an asset attribute that should receive an update to a workflow field that isn't compatible. This includes mapping unlike field types (a text field to update a date field) or a field that isn't required to one that is. If a trigger ever fails, you'll see an audit indicating this on the asset that would have been updated.
Update indicator text trigger

With update indicator text triggers, you can set an asset to display text above its icon on the map. You can set the indicator text, the font size, and the font color, and when the trigger's action occurs, that text will then be visible above the asset when viewed from the Map.
Create an asset trigger

With create an asset trigger, you can automatically create a dynamic asset based on conditions in your workflow or asset class when completing work or saving an asset.
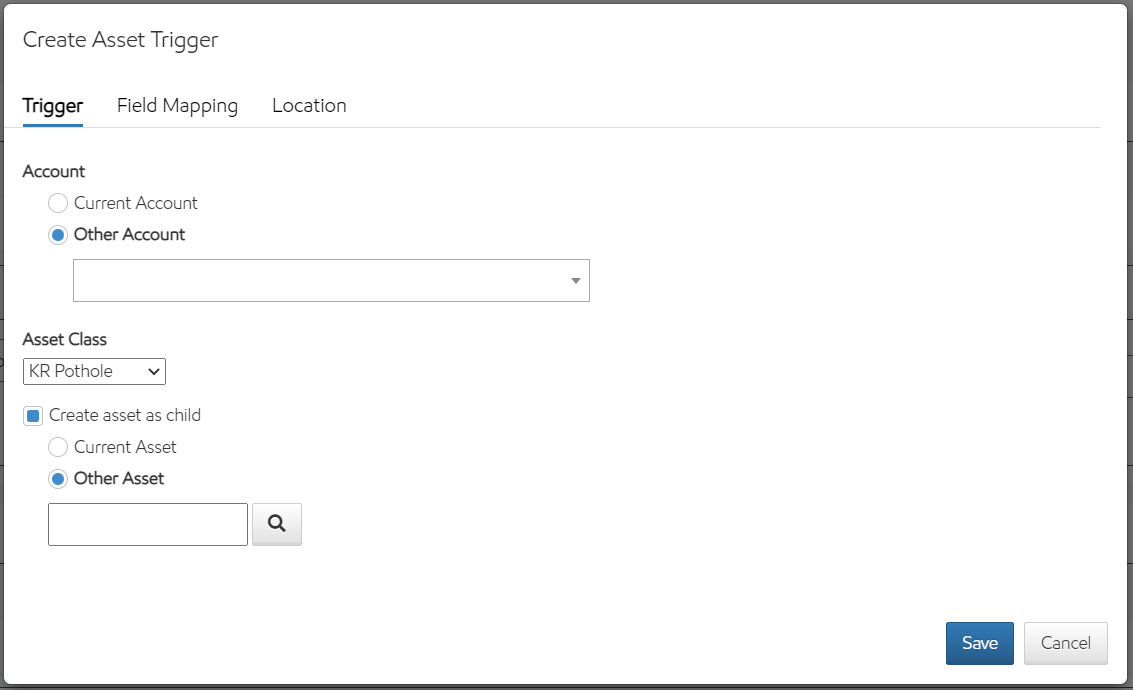
When configuring a create asset trigger, first you'll start on the Trigger tab. You'll need to choose the account the asset will be created in and which asset class the asset will be, as well as if it will be a child asset and which asset it will be a child of if it is. For account, the new asset can either be created in the current account of the asset that is being saved or having work completed against it that would trigger the asset creation, or it can be created in a static other account selected when configuring the workflow or asset class. Similarly, if it is being created as a child asset then it can either be created as a child of the asset that is being saved or having work completed against it that would trigger the asset creation, or it can be created in a static other account selected when configuring the workflow or asset class.
In order to use an asset class in a create an asset trigger, that asset class must be configured to automatically generate an asset ID. If an asset class isn't set to automatically generate an asset ID then it won't appear when selecting an asset class.
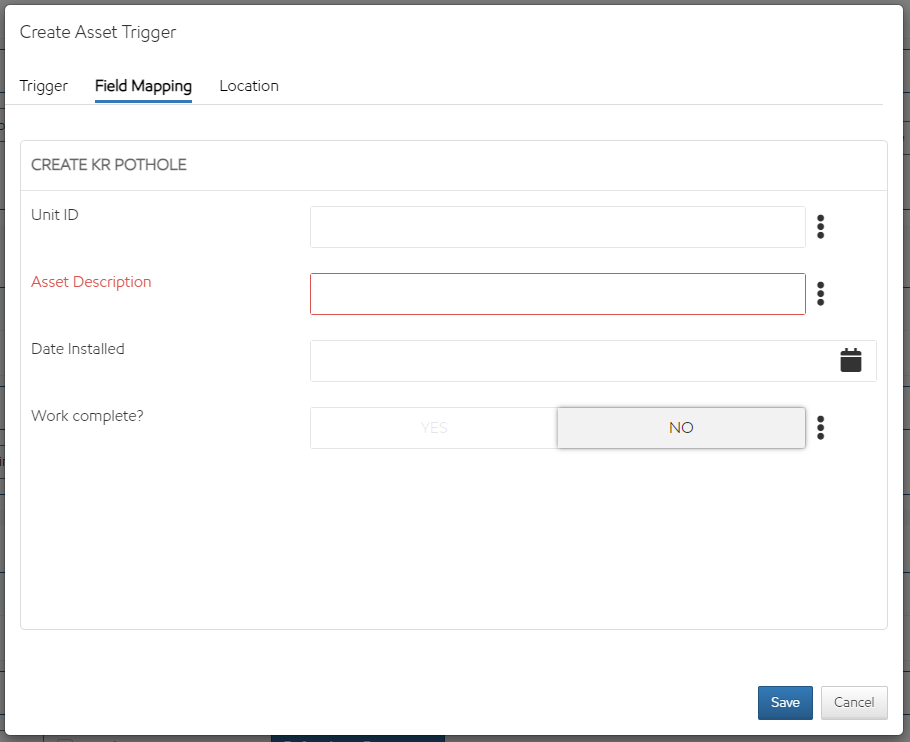
Next, on the Field Mapping tab, you'll need to enter values for the default fields and asset attributes of the asset the trigger will create. These fields can either be standard for every asset created by the trigger or mapped to fields from the workflow or asset class. To use a standard value for a field, simply set the value within the Field Mapping tab for each field. To use a dynamic value mapped from the workflow or asset class, select 
Required default fields such as asset description and required asset attributes must have a value mapped in the Field Mapping tab.
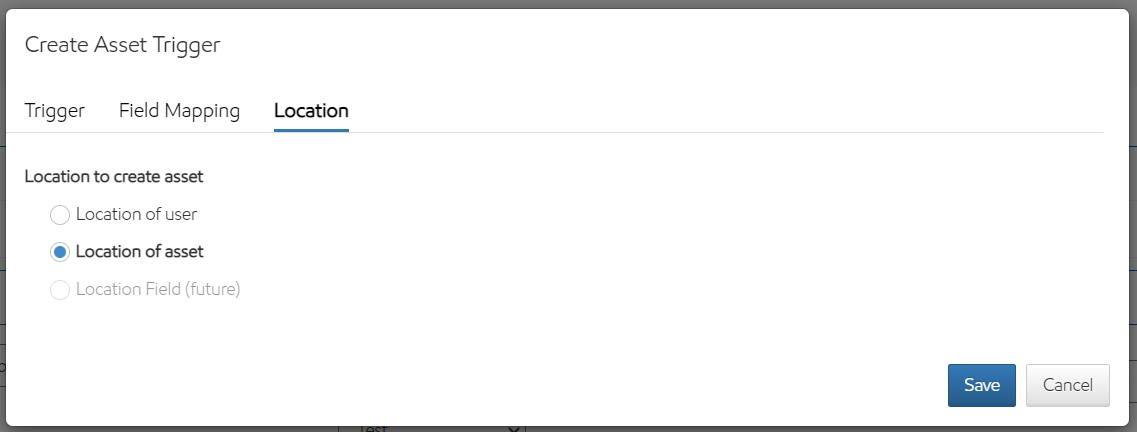
Finally, from the Location tab, you can set the location the asset will be created at. You can set location at either the location of the user at the time of completing the work or the location of the asset either the workflow is being completed against or of the asset that is being edited.
Update other asset attribute trigger

With update asset attribute triggers, you can update any other asset in Utility Cloud's attributes when completing work on or editing another different asset. Creating an update other asset attribute trigger is very similar to a standard update asset attribute trigger, with an additional first step: before selecting the field to update, you need to select the asset field from your workflow or asset class that will determine which other asset is going to be updated when completing the work or editing an asset. Once you've selected that field, select the asset class that should receive the update, then the field on that asset class to be updated. From there, you can update that field with a static value set in your workflow by selecting Custom Value or update it with the value from the workflow by selecting Field Value, then the field that will provide the update value.
It's possible to map an asset attribute that should receive an update to another asset attribute or workflow field that isn't compatible. This includes mapping unlike field types (a text field to update a date field) or a field that isn't required to one that is. If a trigger ever fails, you'll see an audit indicating this on the asset that would have been updated.
Send to webhook trigger

With send to webhook triggers, you can send a simple API payload to a preconfigured webhook endpoint when completing work. When configuring a send to webhook trigger, you'll first need to select what to send. The only current option is work order status, which includes the work order ID, the work order's status, and the date of completion.
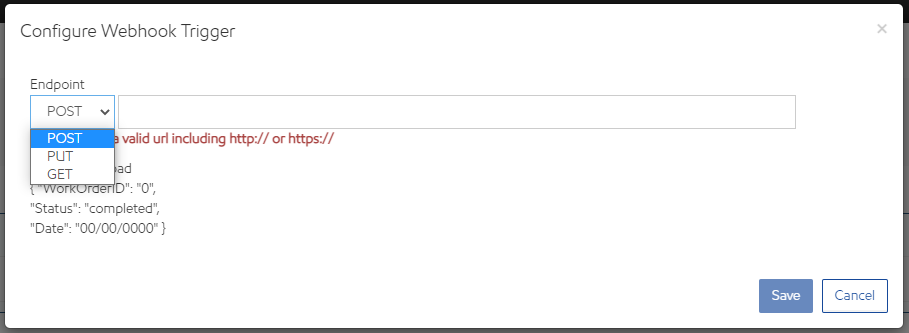
Once chosen, select Configure Webhook. From there, enter the webhook endpoint's URL and whether the payload should be sent as a POST, PUT, or GET.
When completing work, if a send to webhook trigger fails, then an email will be sent to any workflow stakeholders on and an audit added to record the failure.
Related articles