
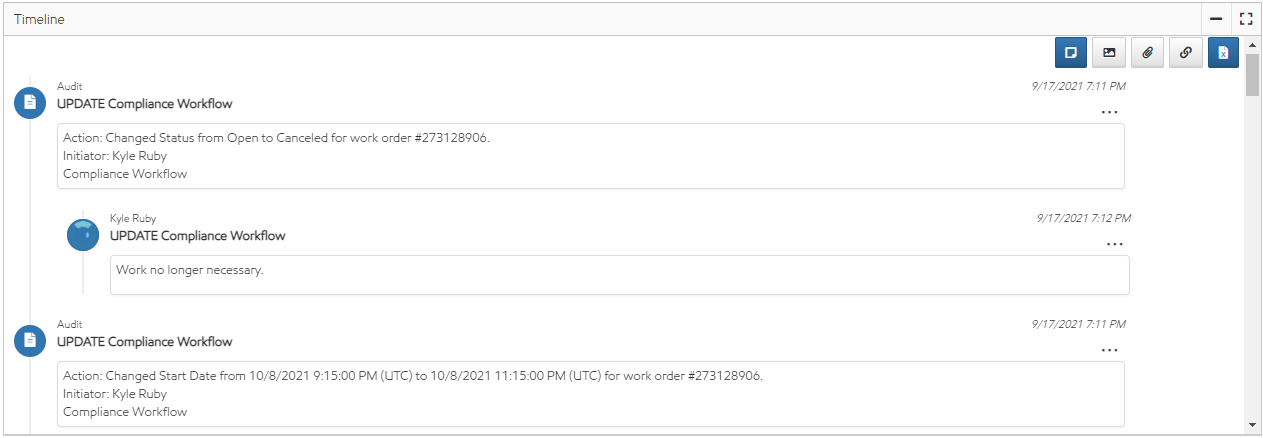
Throughout Utility Cloud on different pages, users can review audits and add notes to alert other users in their billing account.
Timelines
You can find timelines on each of the below pages where you can review and add relevant information for yourself and other users.
Asset Details
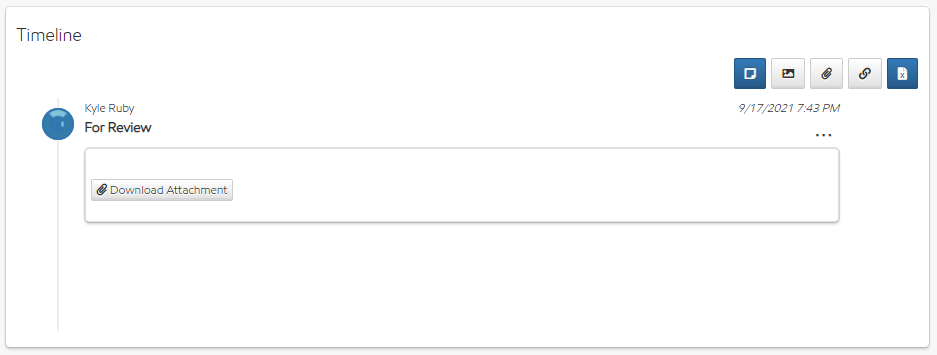
Every asset has its own timeline on the Asset Details page.
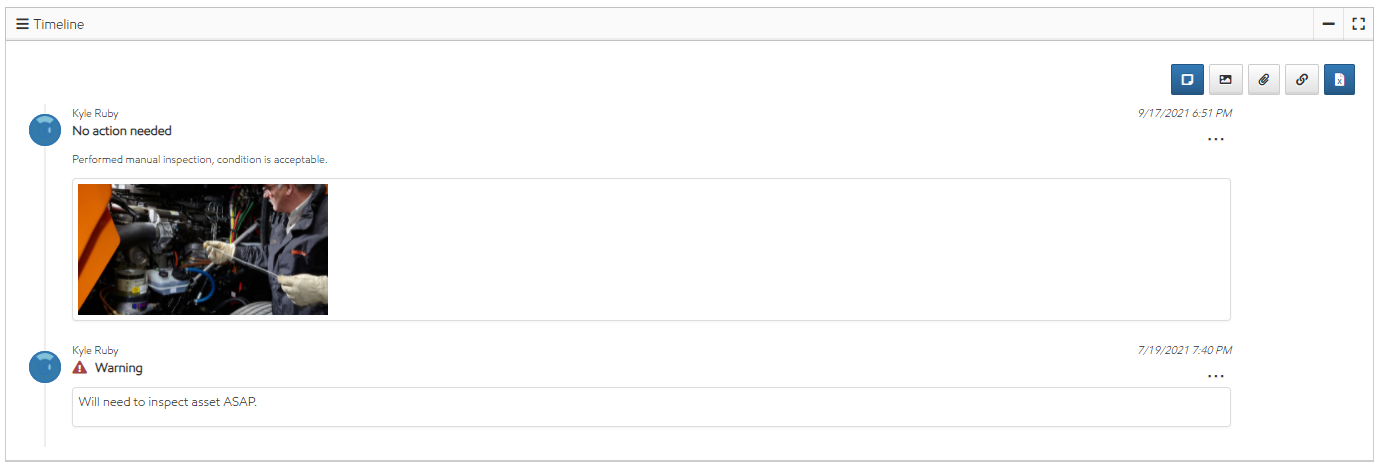
From here, you can add a note to your asset and view or reply to other user's notes. You can also view any timeline entry generated by an asset or workflow trigger.
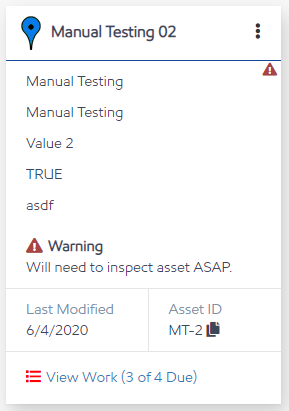
You can set any timeline entry as a warning so that it will show on the asset's card in the Asset Search's results:
Security Rights Required: View Assets
Work Order Details
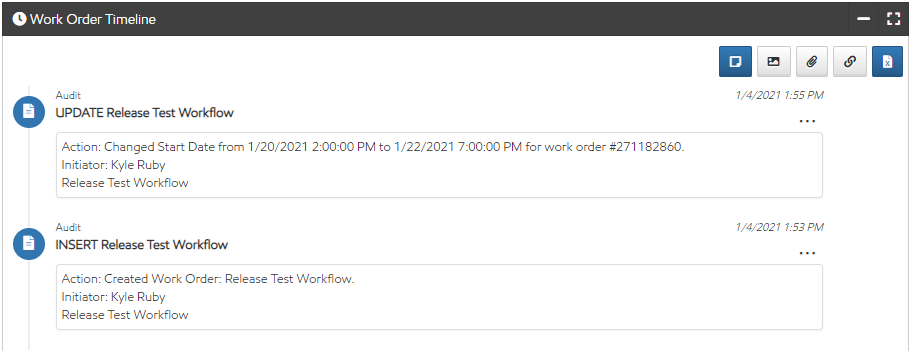
Like assets, every work order has a timeline to view and add comments on the Work Order Details page. Audits for creating and editing work orders, unlike most audits in Utility Cloud, will show in the work order timeline instead of the audit trail.
Security Rights Required: View Work Order Details
Route Details
The timeline for any route shows on the Route Details and like the work order timeline shows audits for that route and any of its work order's audits.
Security Rights Required: View Routes
Account Details
The timeline for any account on the Account Details allows viewing, adding, and commenting on notes. No audits or other automatically generated timeline entries show on the account timeline.
Security Rights Required: View Accounts
Adding, editing, and deleting notes
You can add a note to any asset, work order, route, or account you normally have access to and edit or delete your own notes, but unless you have the specific security rights to do so you can't edit or delete other user's notes. All notes or replies can be plain text or include a photo, an attachment, or a link to another website.
Adding a note or reply
-
From any timeline, select one of the below icons to create the appropriate type of note.
-
Select

-
Select

-
Select

-
Select

-
-
Enter a title for your note's subject and description for your note's body, then select Save. Your note must have a title but description is not required.
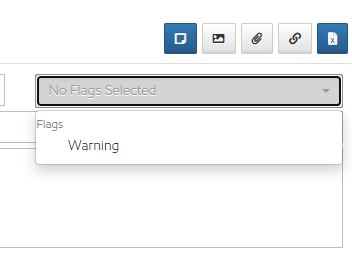
If you want to flag your note as a warning on an asset, then before saving select the dropdown at the upper right of your entry and mark as a warning:
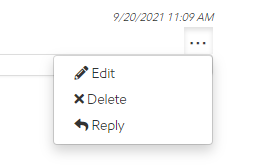
To add a reply to an existing note instead of creating a new one, select the ellipses 
Editing a note
-
From any timeline, select the ellipses

-
Change any values you'd like to change, then select Save.
Security Rights Required: Edit Asset Notes
Deleting a note
-
From any timeline, select the ellipses

Security Rights Required: Delete Asset Notes
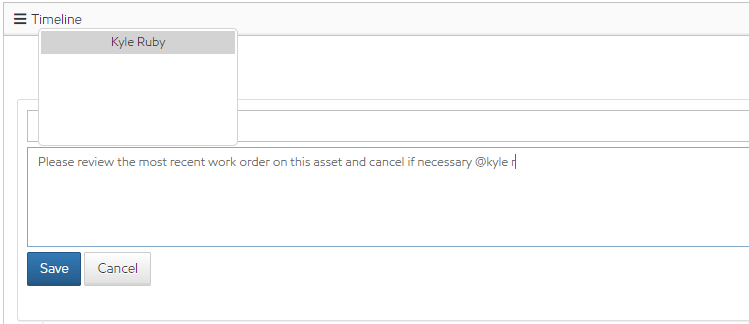
Tagging a user in a note
You can tag other users in Utility Cloud by typing "@" followed by their name in the body of a note. That user will receive an email notification that they were tagged with a link to the note they were tagged in.
Exporting Timelines
From any timeline, you can export all notes associated with that asset, work order, route, or account. To export:
-
From any timeline, select

Related articles